Currently under development – SLOWLY
The Sonex has a very light canopy frame, but it is very flimsy. A few years ago I made the stupid mistake of forgetting to latch the canopy down when I did an engine ground run. All was OK until I gave the engine a rev. The canopy flipped open, permanently distorting the rear hoop which I had gone to so much trouble carefully bending to shape. It is still useable by springing the canopy out to latch but I have decided to make a stronger frame from folded aluminium angles. 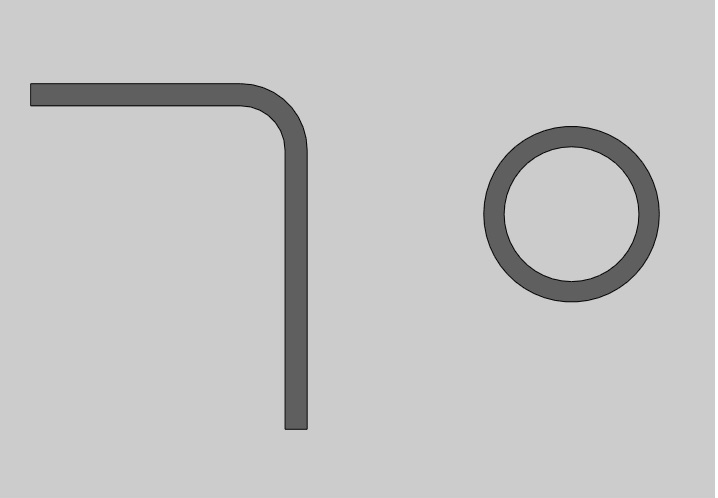
Here’s a comparison of the cross-sections of the new hoop with the original 1/2″ tube.
I’m finally making some progress on this. My first step was to remove the windscreen bow, make a correct bend template for that and re-bend it so that it matches the new forward canopy bow. I really have to get this thing finished now because my old canopy is a terrible fit with the re-bent windscreen bow. Here’s a photo of the trial fit in my Sonex.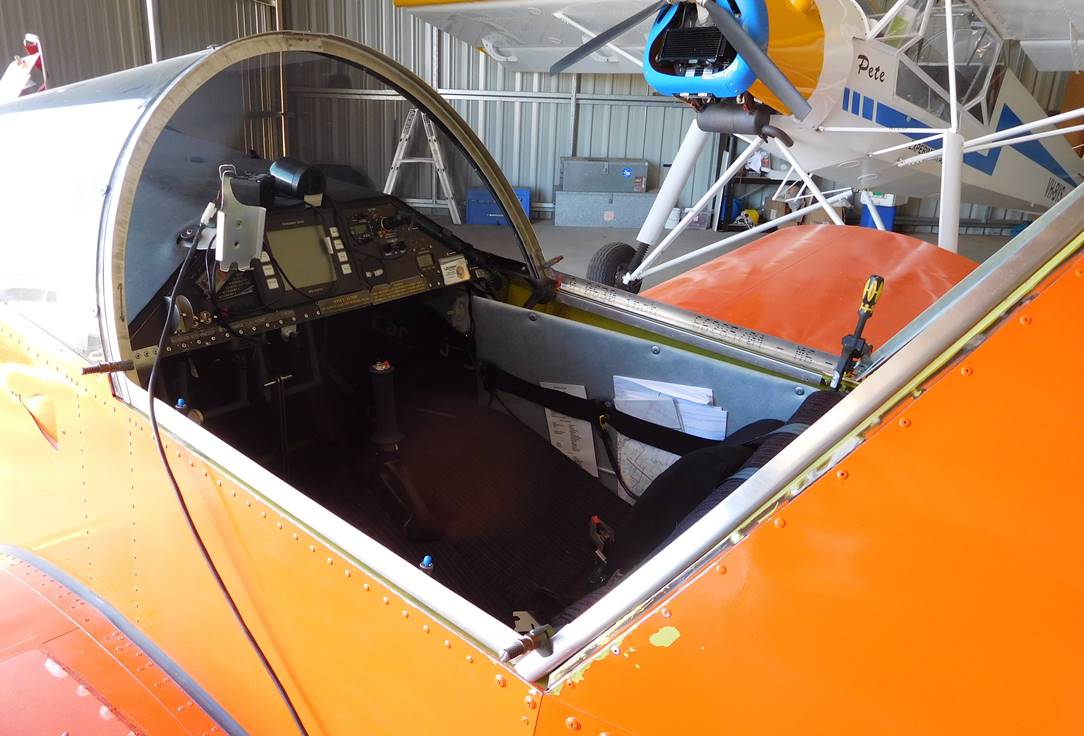
And here’s the frame assembled outside the aircraft ready for riveting. Next steps: mill a slot for the opener handle, rivet, fit a couple of temporary braces and cut the bubble. Sounds easy doesn’t it?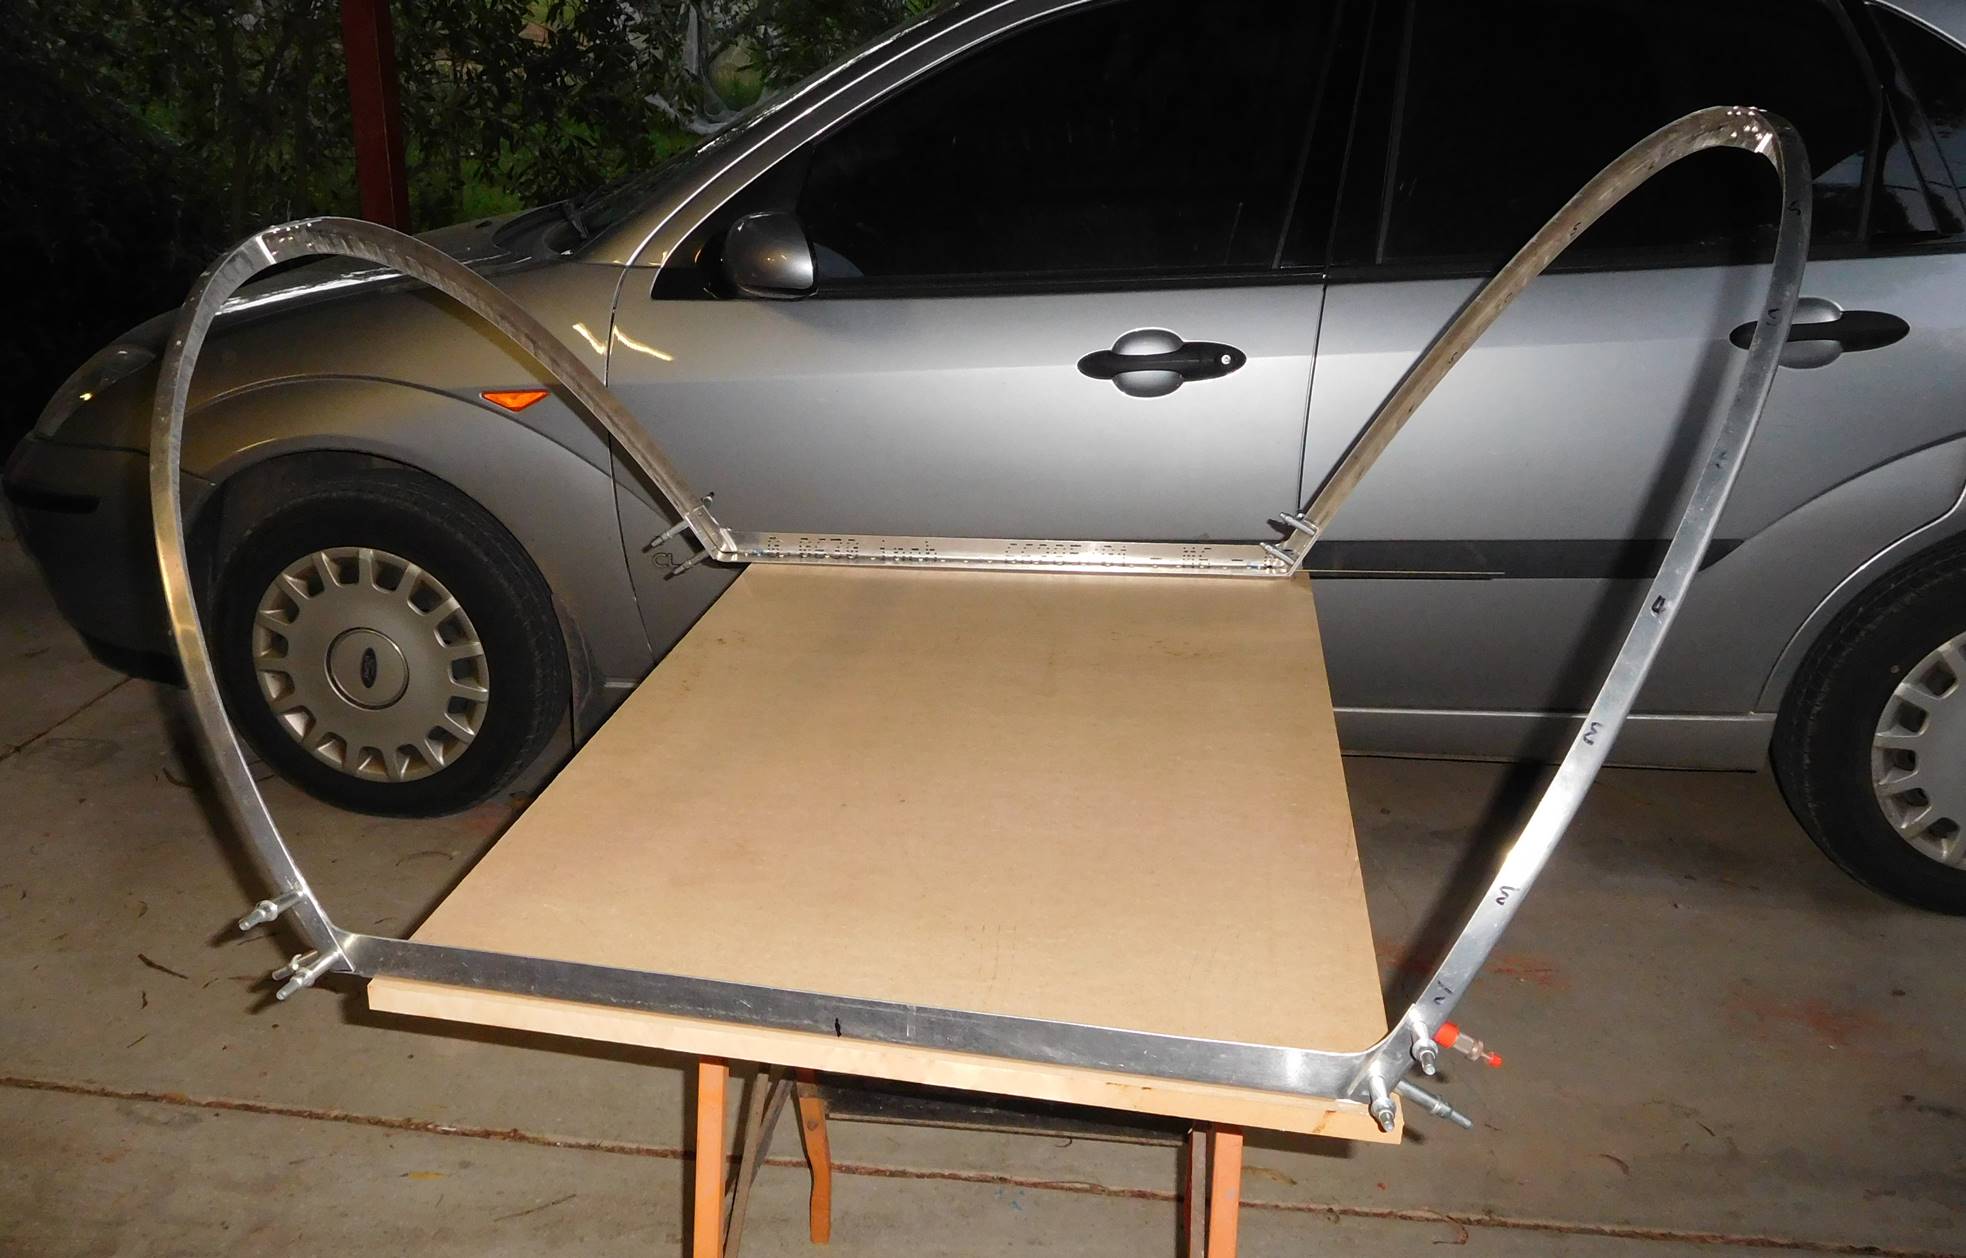
I still haven’t decided whether to glue or screw the bubble to the frame. I’m fairly keen to avoid as many screws as possible.
Mass of the stock canopy frame, including corners = 297 grams = 0.65 pounds
Mass of this design = 479 grams = 1.05 pounds – an increase of 0.4 pounds.
BUT the hoops will be FIVE times stiffer laterally, which in effect means 5 times stronger.
Other advantages:
- The wide flat area on the top of the angle is ideal for a glue joint, making that a more feasible option.
- The sides are much wider so fastener holes along the sides don’t need to be 1/4″ from the edge.
- With the wider sides it may be possible to bulge them out slightly so that the canopy is not quite so stressed in that region. I don’t know if that is possible yet. I’ll be trying it on scrap before I wreck my routed parts.