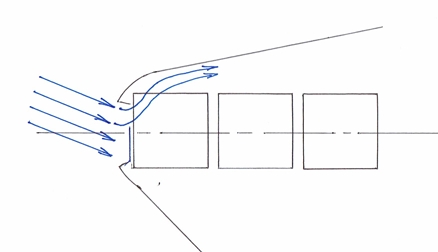
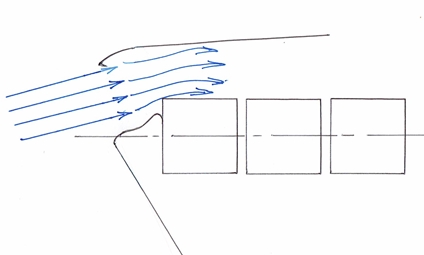
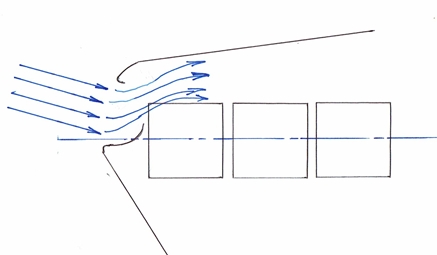
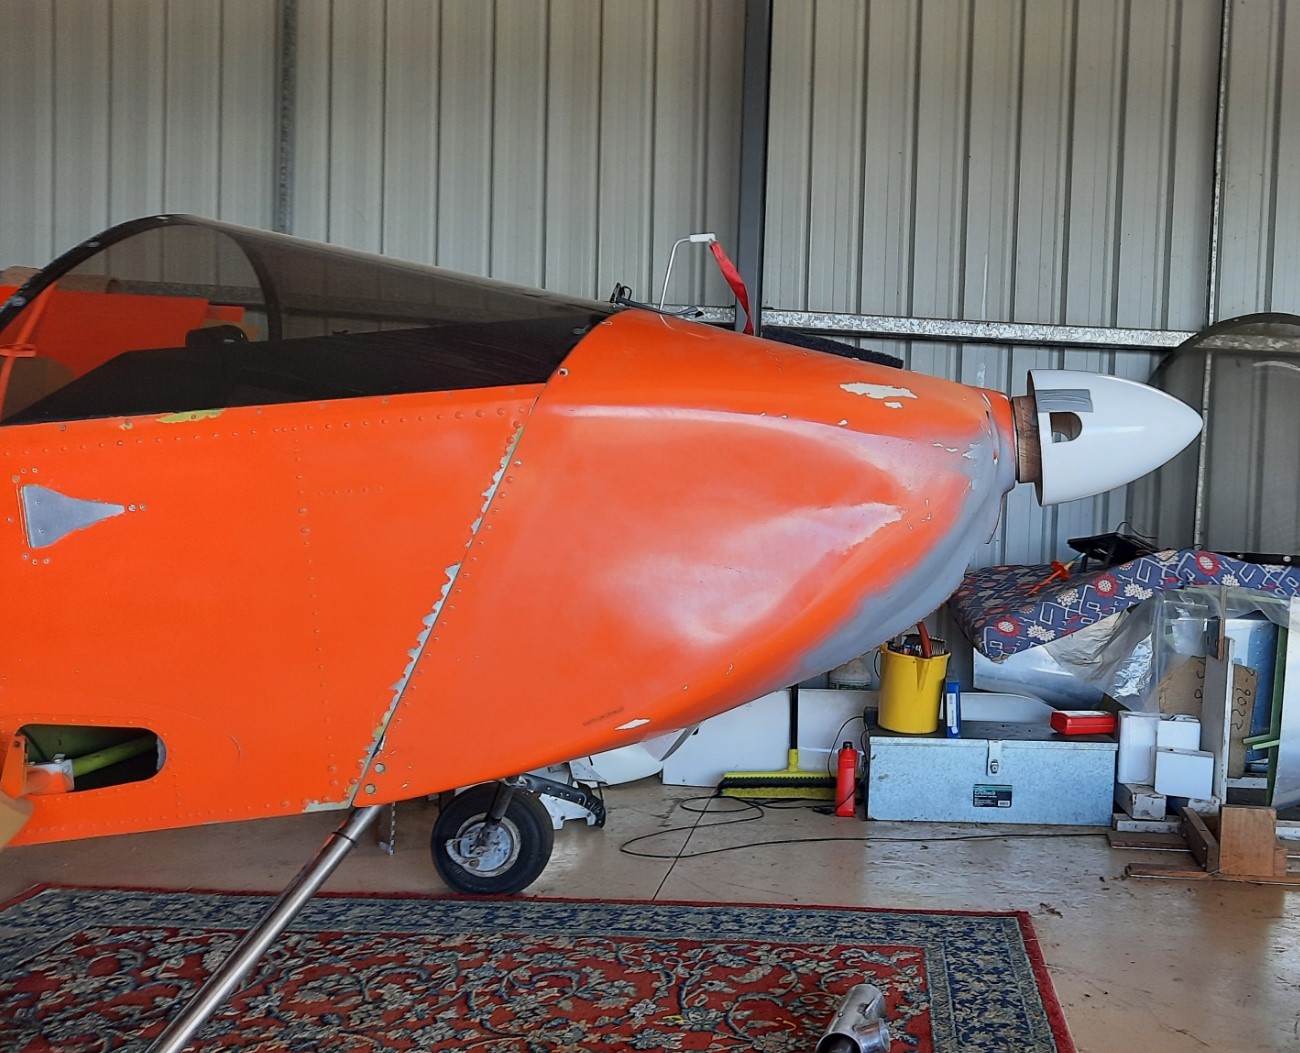
After the failure of my original Gen 1 Jabiru engine I decided to order a new Gen 4 engine but found that delivery was going to take nearly 6 months. This was eventually going to stretch out to 9 months but the wait meant I had plenty of time to consider modifying the cowl for improved cooling. My subjective judgement of the original Sonex engine cowl is that the air inlets are too low and that the front right cylinder, #1, is so close to the inlet that it effectively blocks air flow. My original engine was fitted with a conventional plenum rather than the Jabiru ducts. It cooled the engine OK but I had to make lots of little internal deflectors and even ducted about 40% of the air from the left intake to the RH side of the engine. The propeller imparts a swirl to the air so I guessed that the LH intake would be much more efficient than the RH intake, and this guess did seem to be born out in experience. I decided that my new cowl would be 50mm longer, have the intakes higher up and that the intakes would be asymmetrical to better catch the swirling air. I also opted for a conventional spinner in place of the little Sonex “skull cap”.
Here’s my idea and what I am trying to achieve.
The propeller imparts a swirl on the air, including that air that enters the cooling intakes.
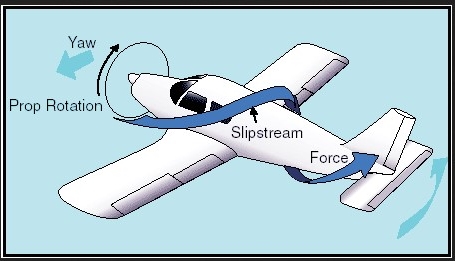

This fits with my experience. The #3 and #5 cylinders on the right side always ran hottest, so here’s how I intended to modify the cowl:
The real world changes
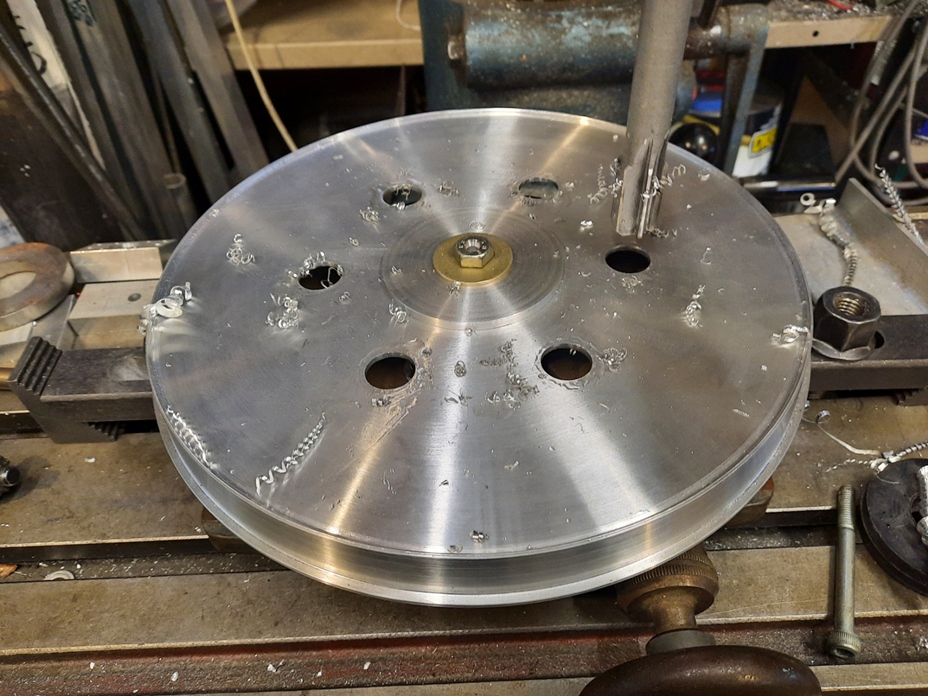
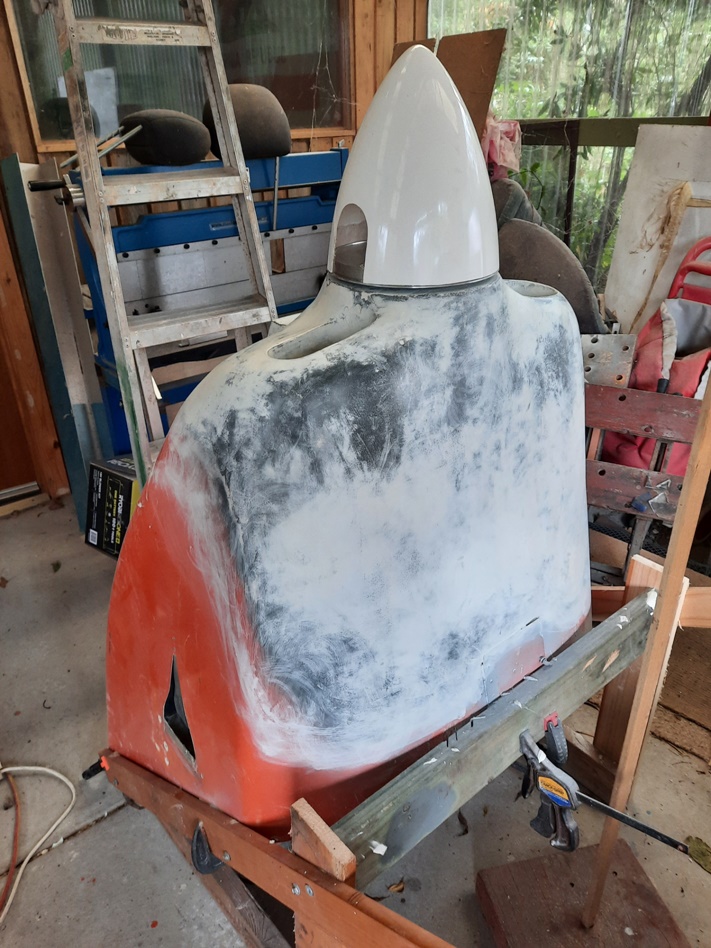
I already had a large fibreglass spinner that was supplied with a propeller I bought 15 years ago. It was a too large for my Jabiru ground-adjustable propeller so I cut it down, requiring a new backing plate.
I made a 50mm wooden spacer to mimic the new prop extension and fitted it to my old engine.
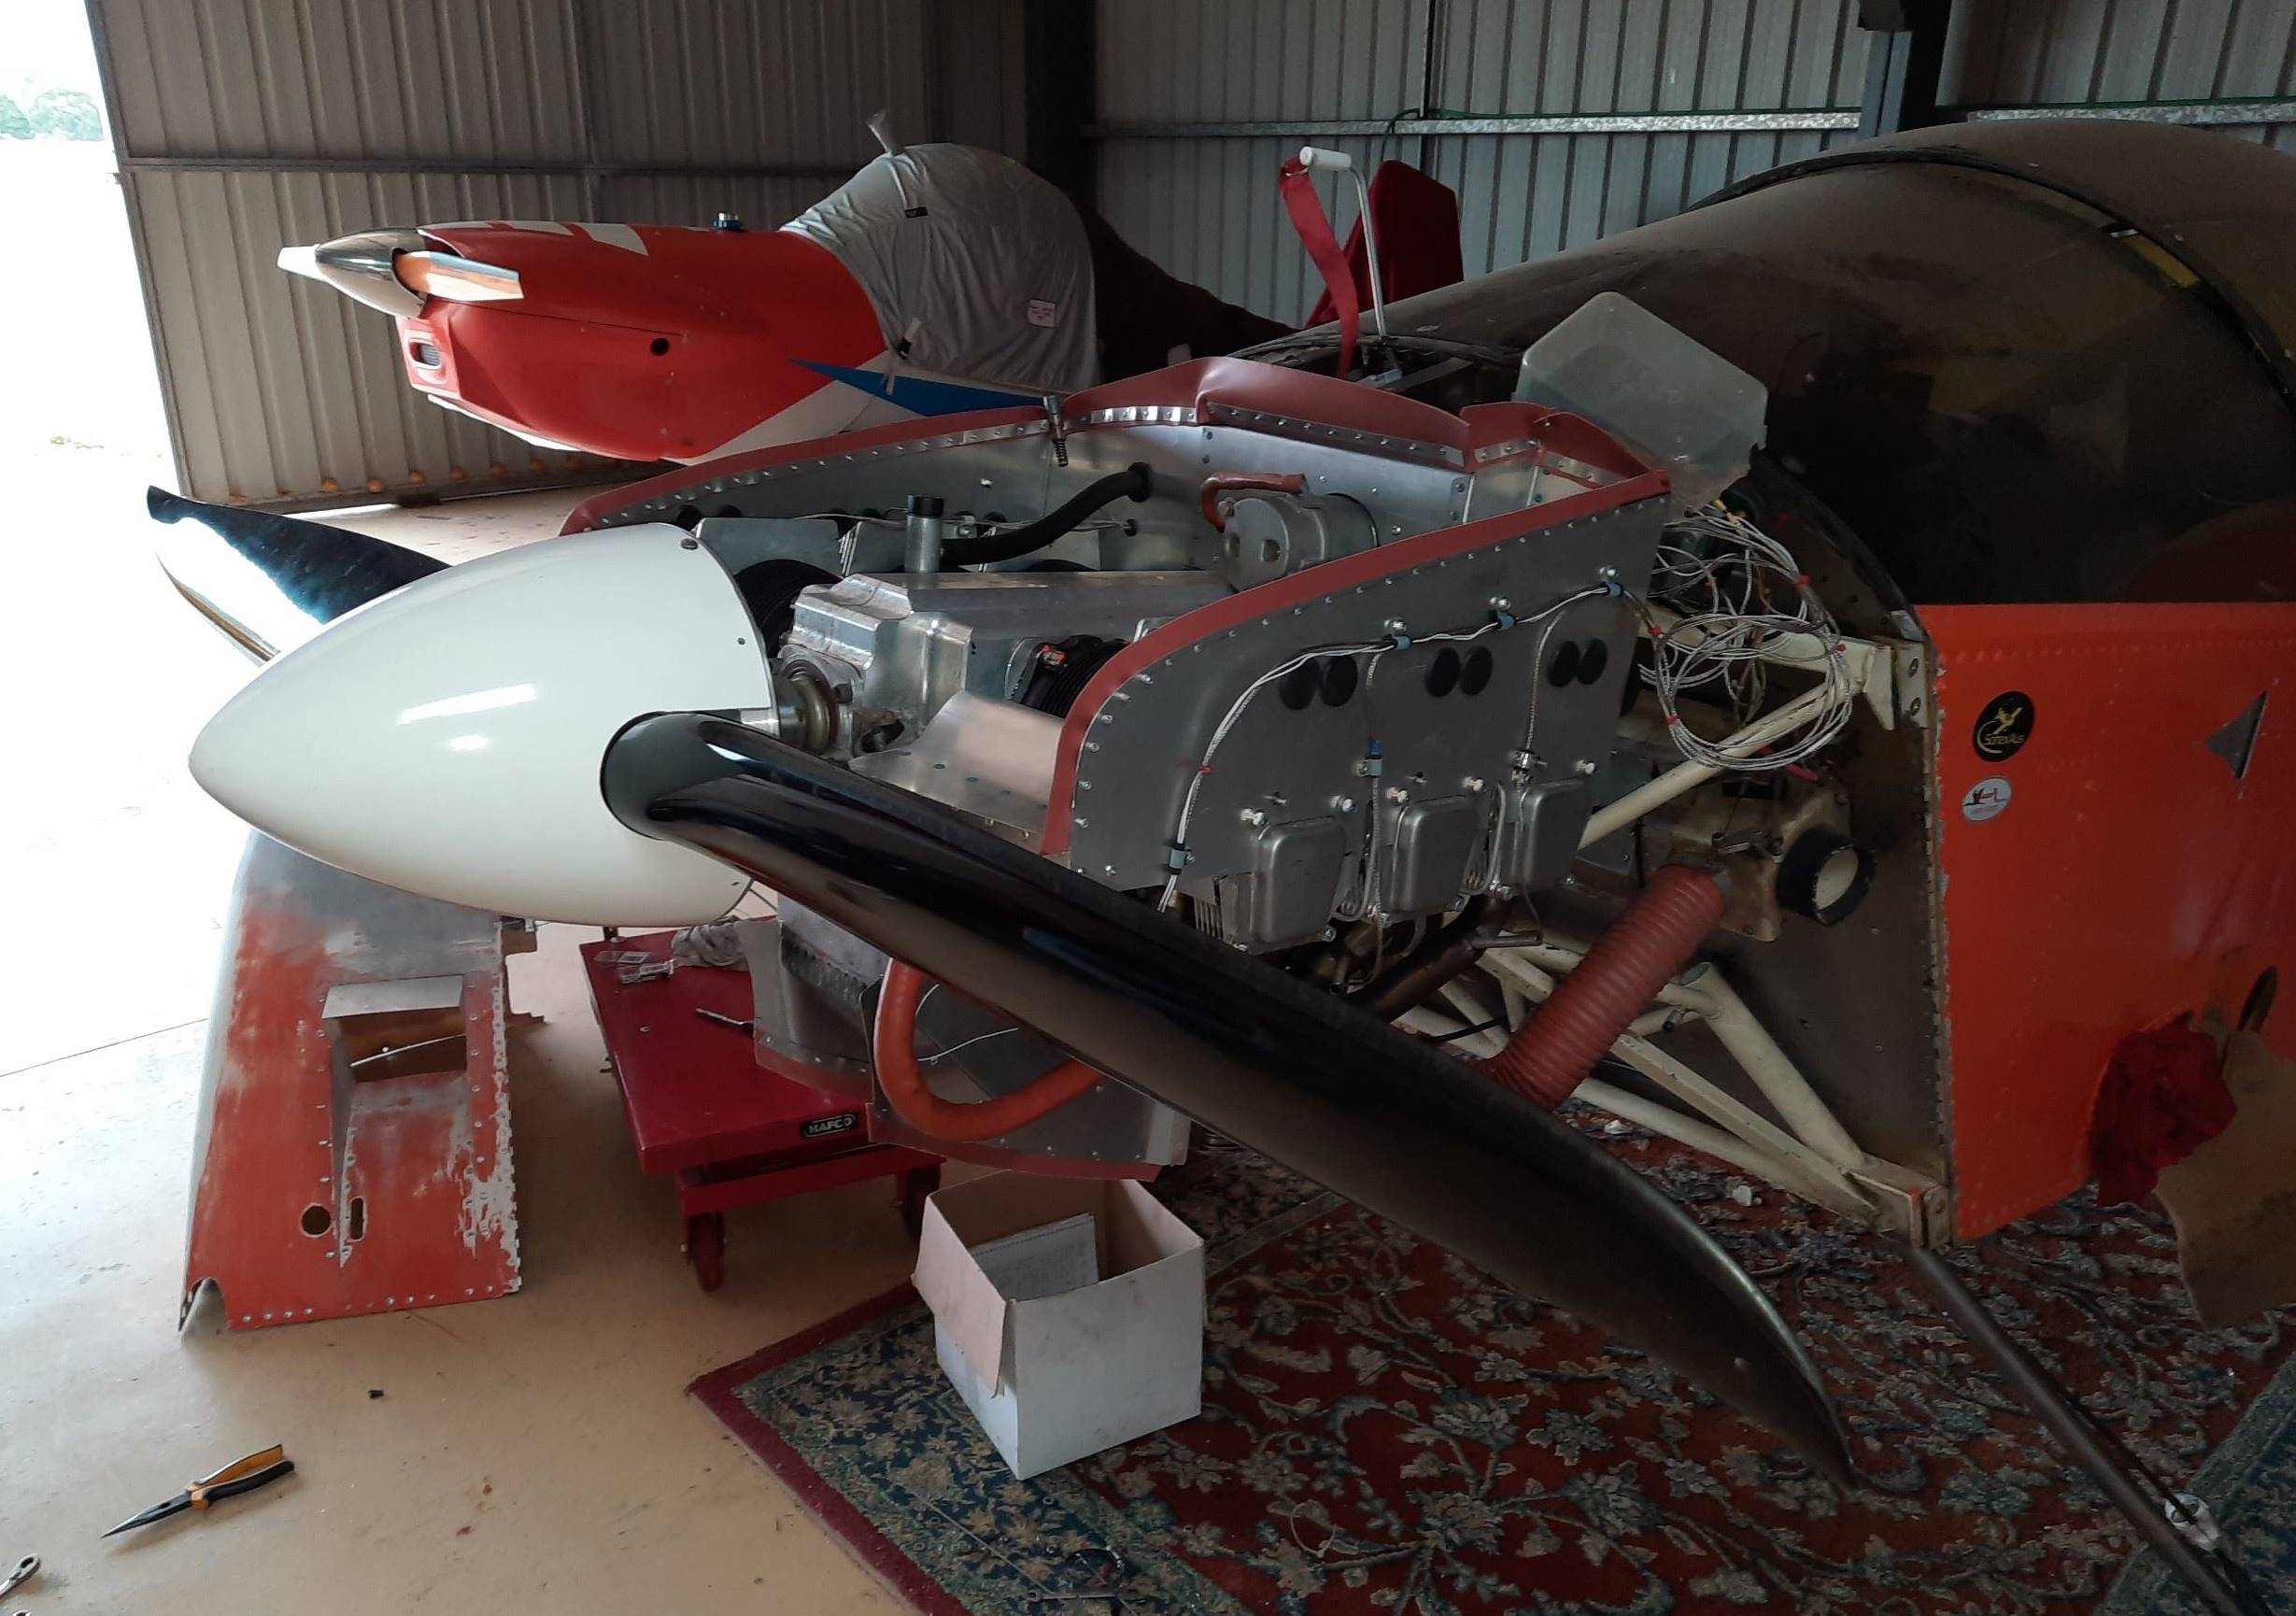
Now to create the new shape:
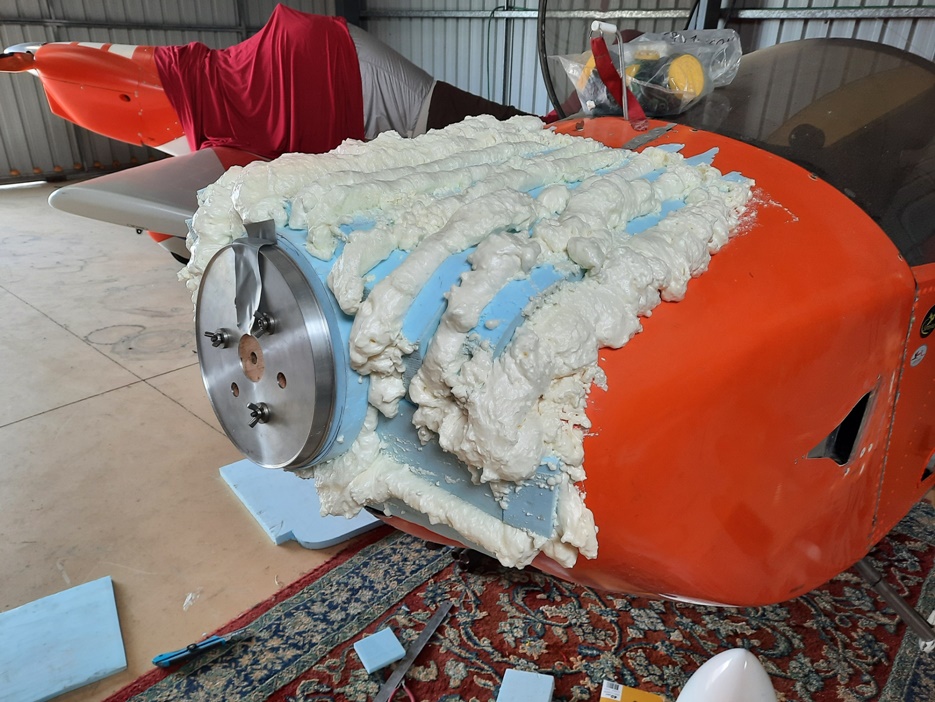
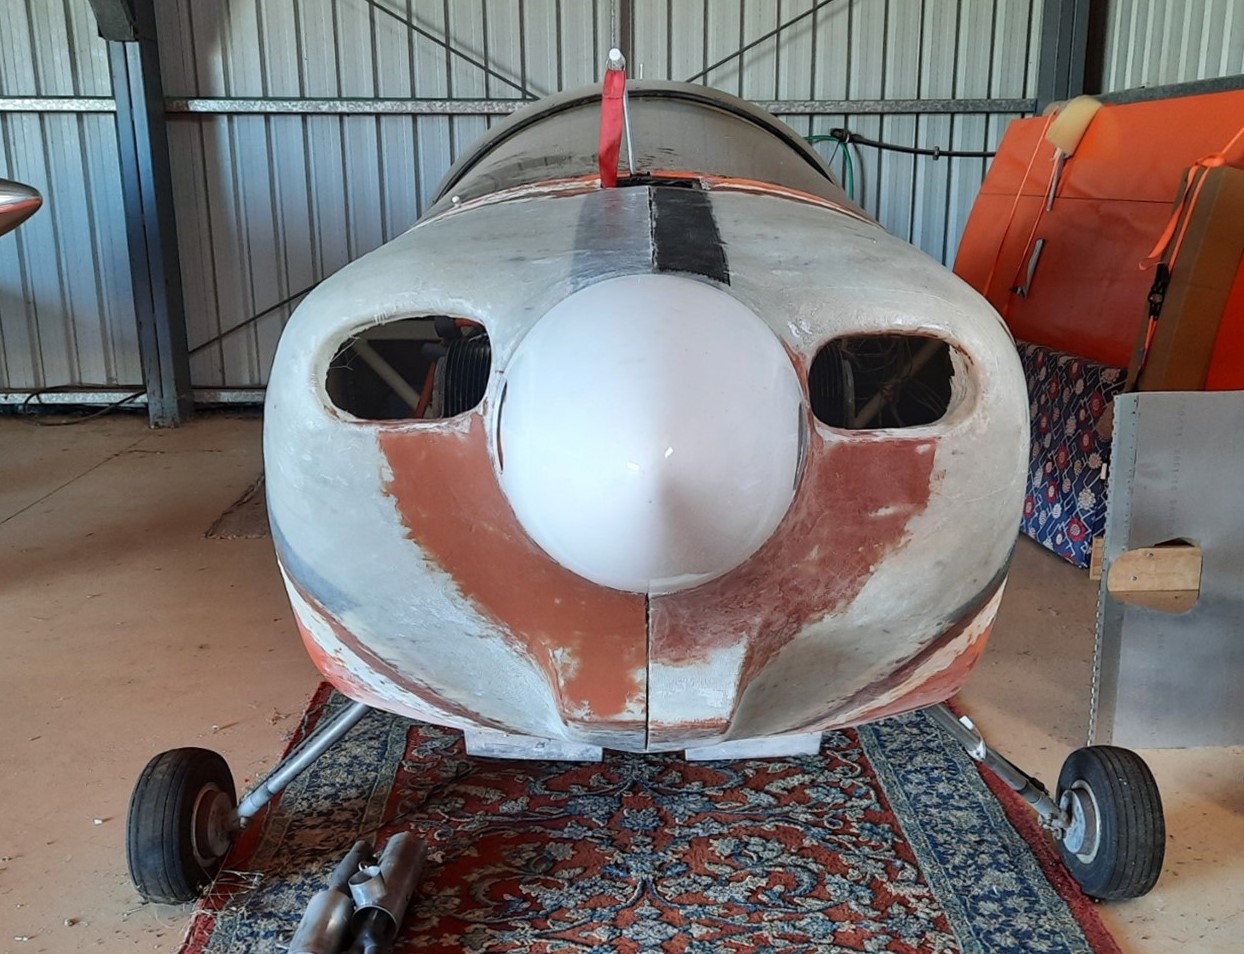
I used glued on strips of blue styrene foam to get the basic shape and filled in with expanding insulation foam. There are much better materials to use but the insulation foam is available from any hardware store. Next step was to rough sand it to shape with the intakes above the engine centreline. It was at this stage that I made a mistake that I wasn’t to discover until I started flying; I had made the new oil cooler intake much larger than was needed.
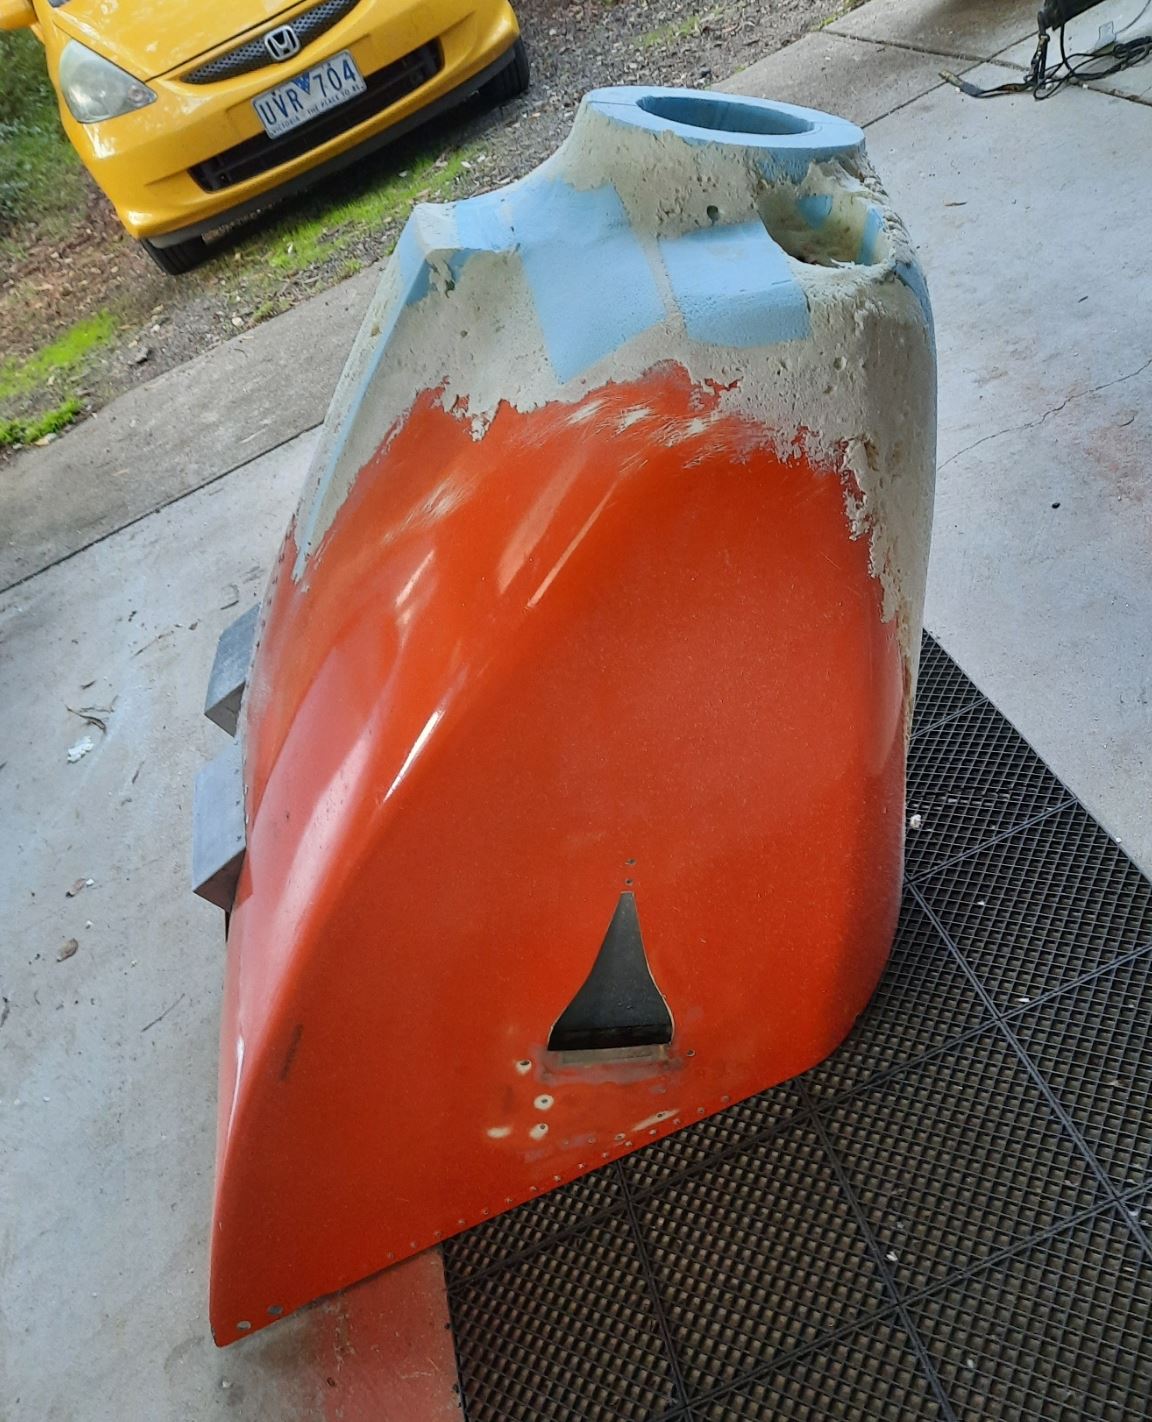
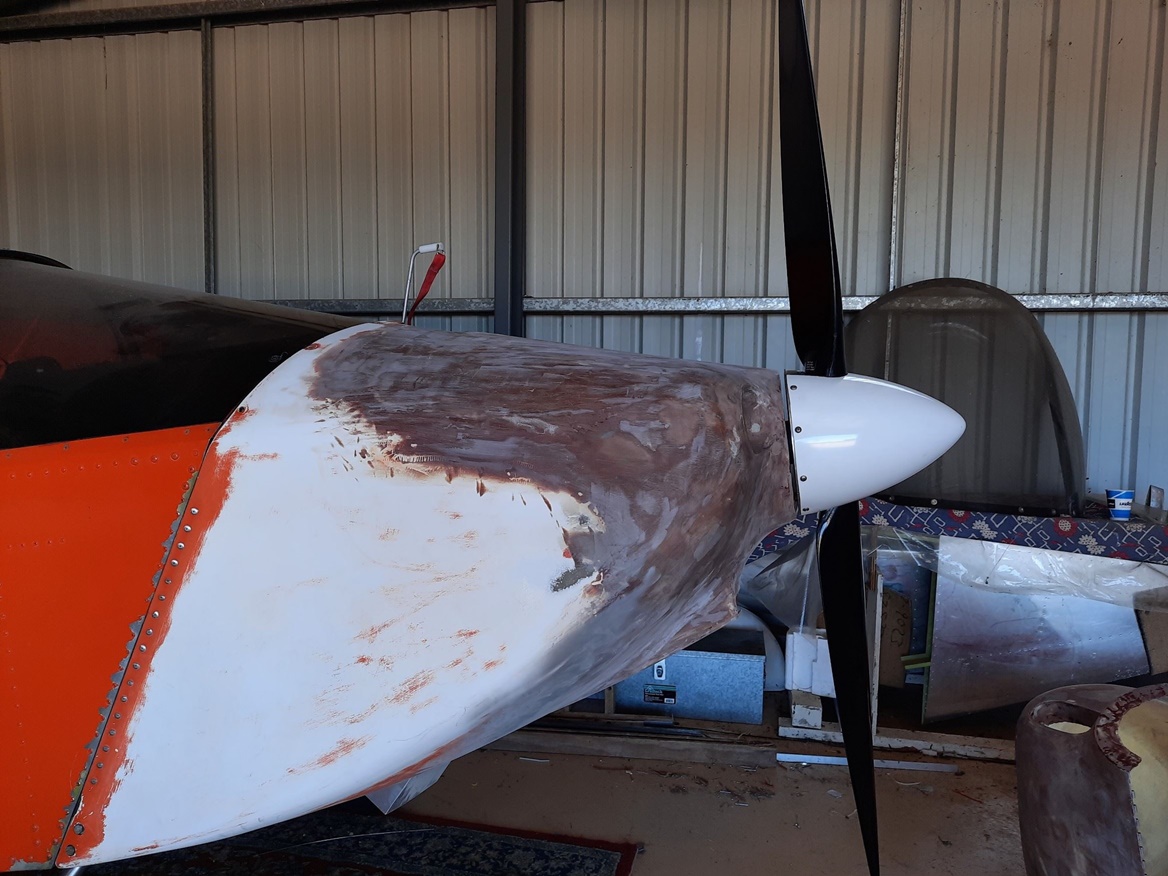
I did LOTS of filling and sanding with plaster to arrive at the final hoped for shape and then waxed and polished it in preparation for applying the glass and resin.
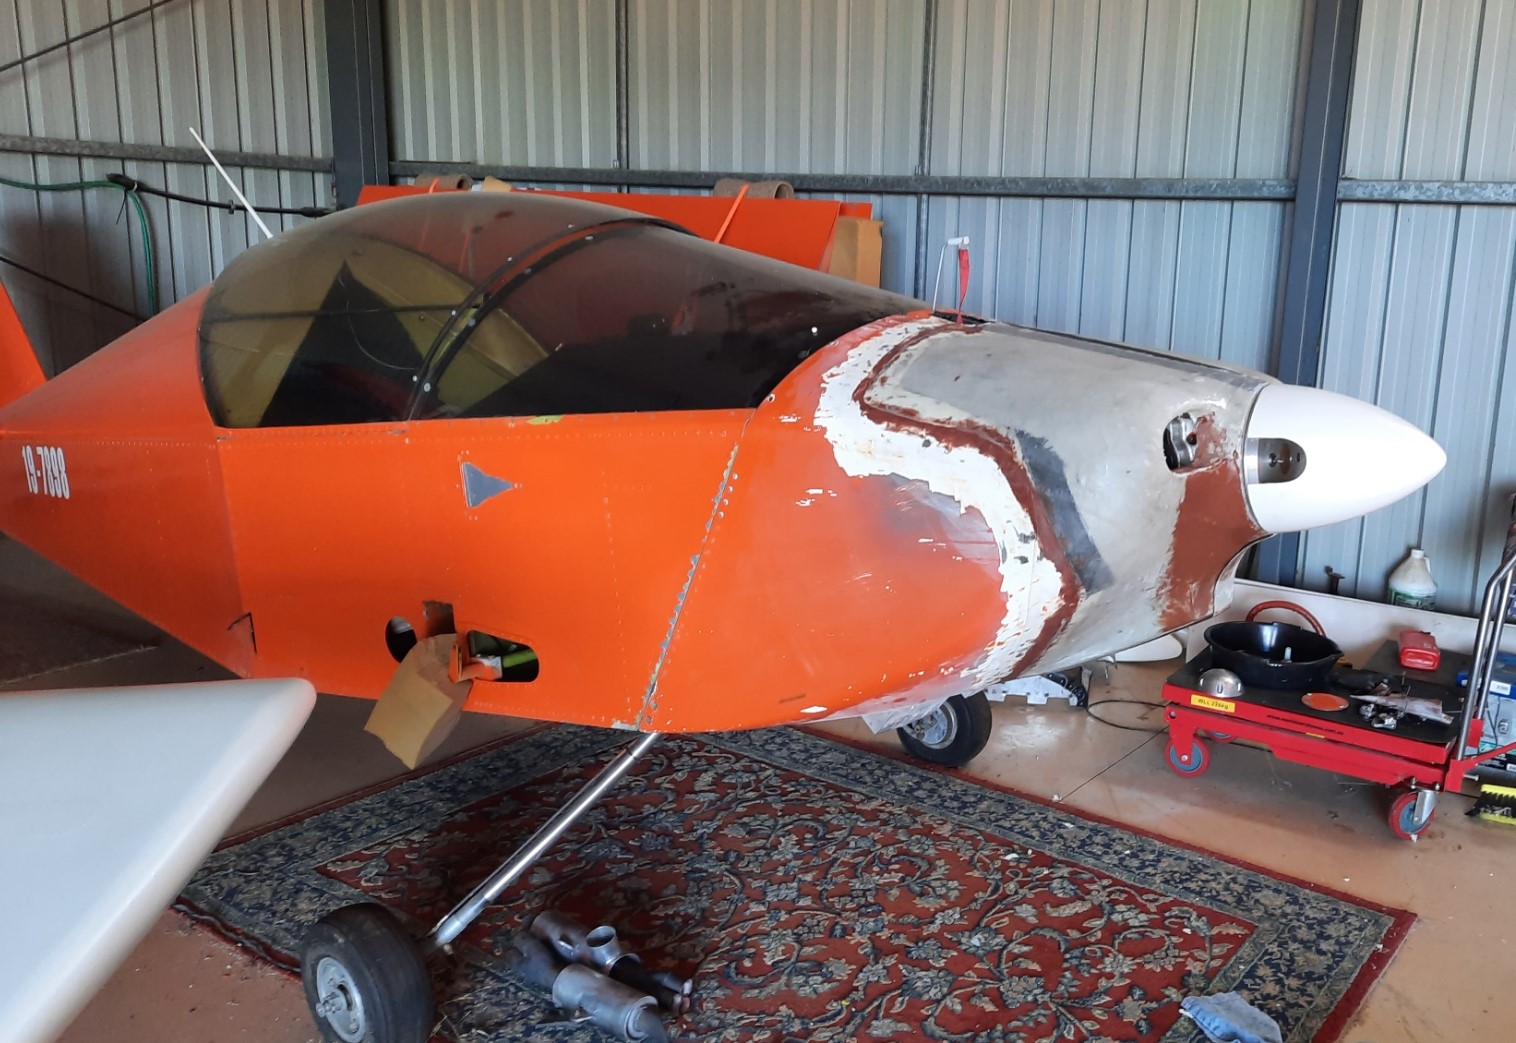
I’ve missed a bunch of steps here, but I laid 4 or 5 layers of glass with a few strips of carbon fibre where I thought the extra stiffness might come in handy, then drilled a lot of holes around the edge of the new part so it would correctly locate on the old cowl. Next step was to remove the molded part and cut away parts of the old cowl that were no longer needed. Finally I clecoed the new parts to the old and glued them together.
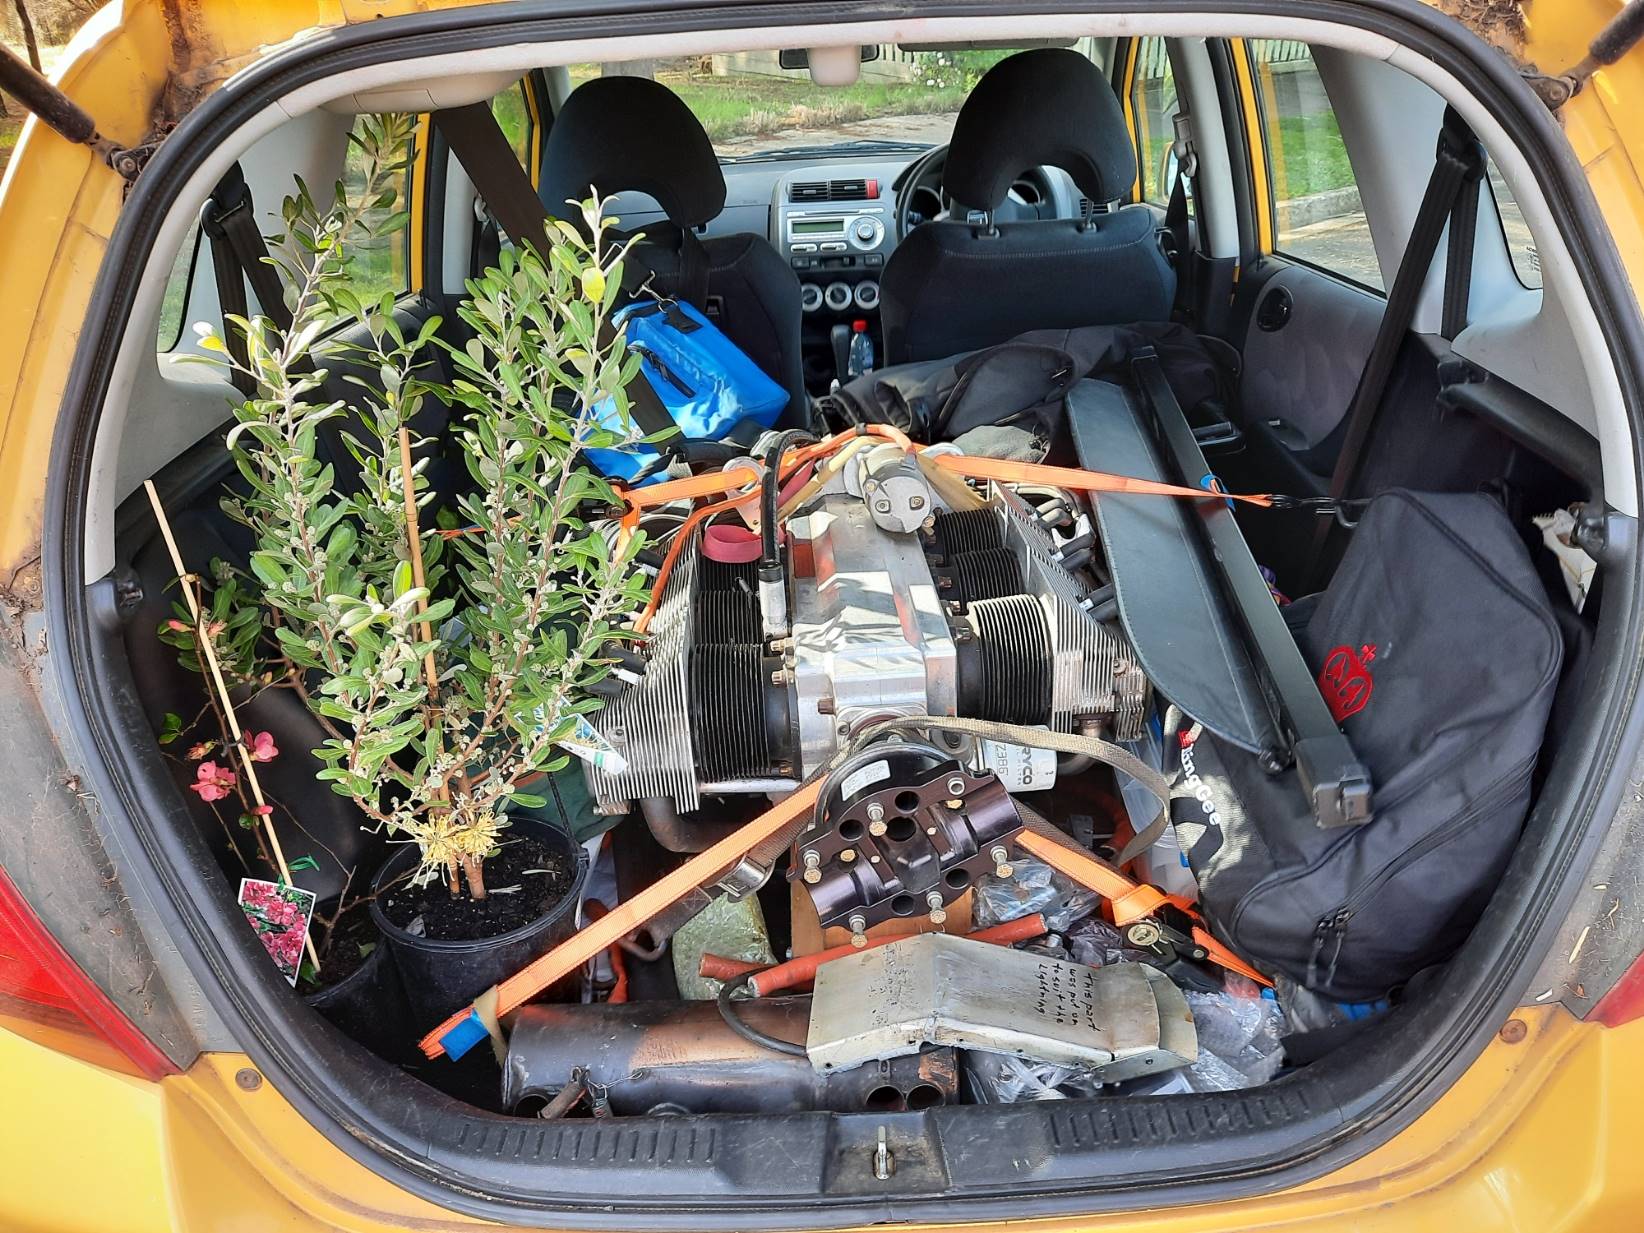
About this time I had the opportunity to buy a used Camit 3300 engine from a friend of a friend so drove to Mount Gambier to pick it up. It had some known damage from a taxying incident and some unknown history so I stripped the whole engine to check it out. I used the engine mounting plate, gear case and carburetor from my old engine but I’m happy with the final assembly.
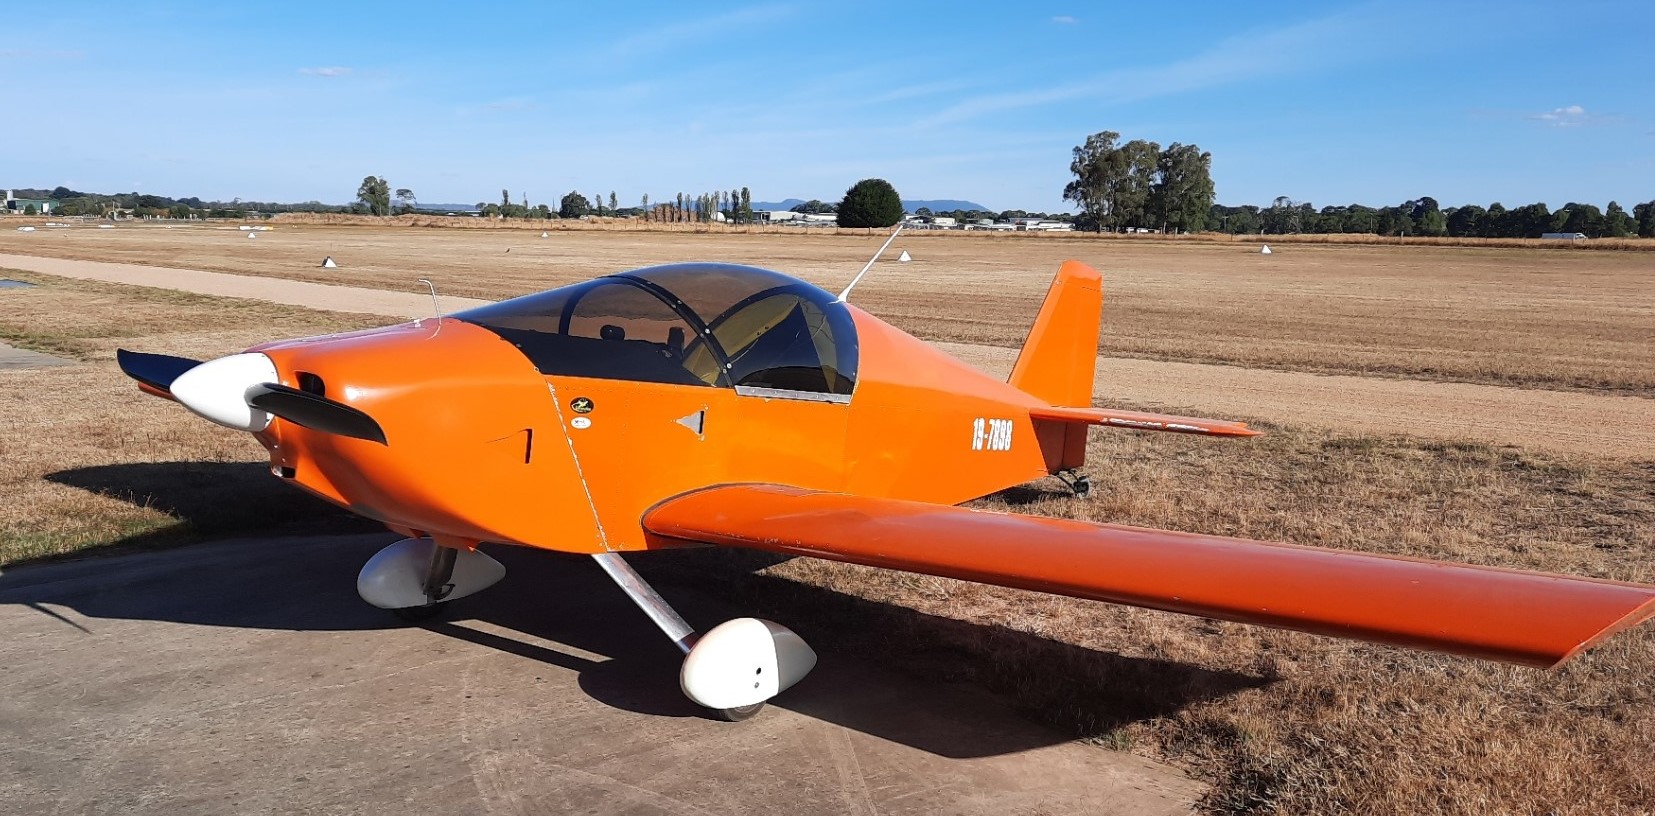
Testing
The seasons when most of the test flying was done were Autumn and Winter so ambient temperatures at ground level were around 10 to 15°C. I have had to adjust the height of the dams in front of the forward cylinders, #1 and #2, because they were running too cool but cylinder head temperatures are fairly even without having to add any vanes or deflectors inside the plenum. At this time of the year I was also able to close the outlet air dams which you can see are fully open in the above picture. No doubt in summer they will need to be at least partially opened. The oil cooler inlet, below the propeller, is now far too big and I had to make an adjustable flap which closes off about 80% of the inlet area. I suspect I could get by with a much smaller oil cooler but summer will tell. Performance with the new engine combined with the Jabiru ground adjustable composite propeller is good. On a recent short trip with a passenger the cruise speed was about 130 knots by the GPS in both directions. Overall I am happy with the changes.