NOTE THAT THIS IS NOT AN OFFICIAL SONEX WEBSITE. FOR INFORMATION ON SONEX AIRCRAFT VISIT THEIR OFFICIAL WEBSITE.
About Peter Anson
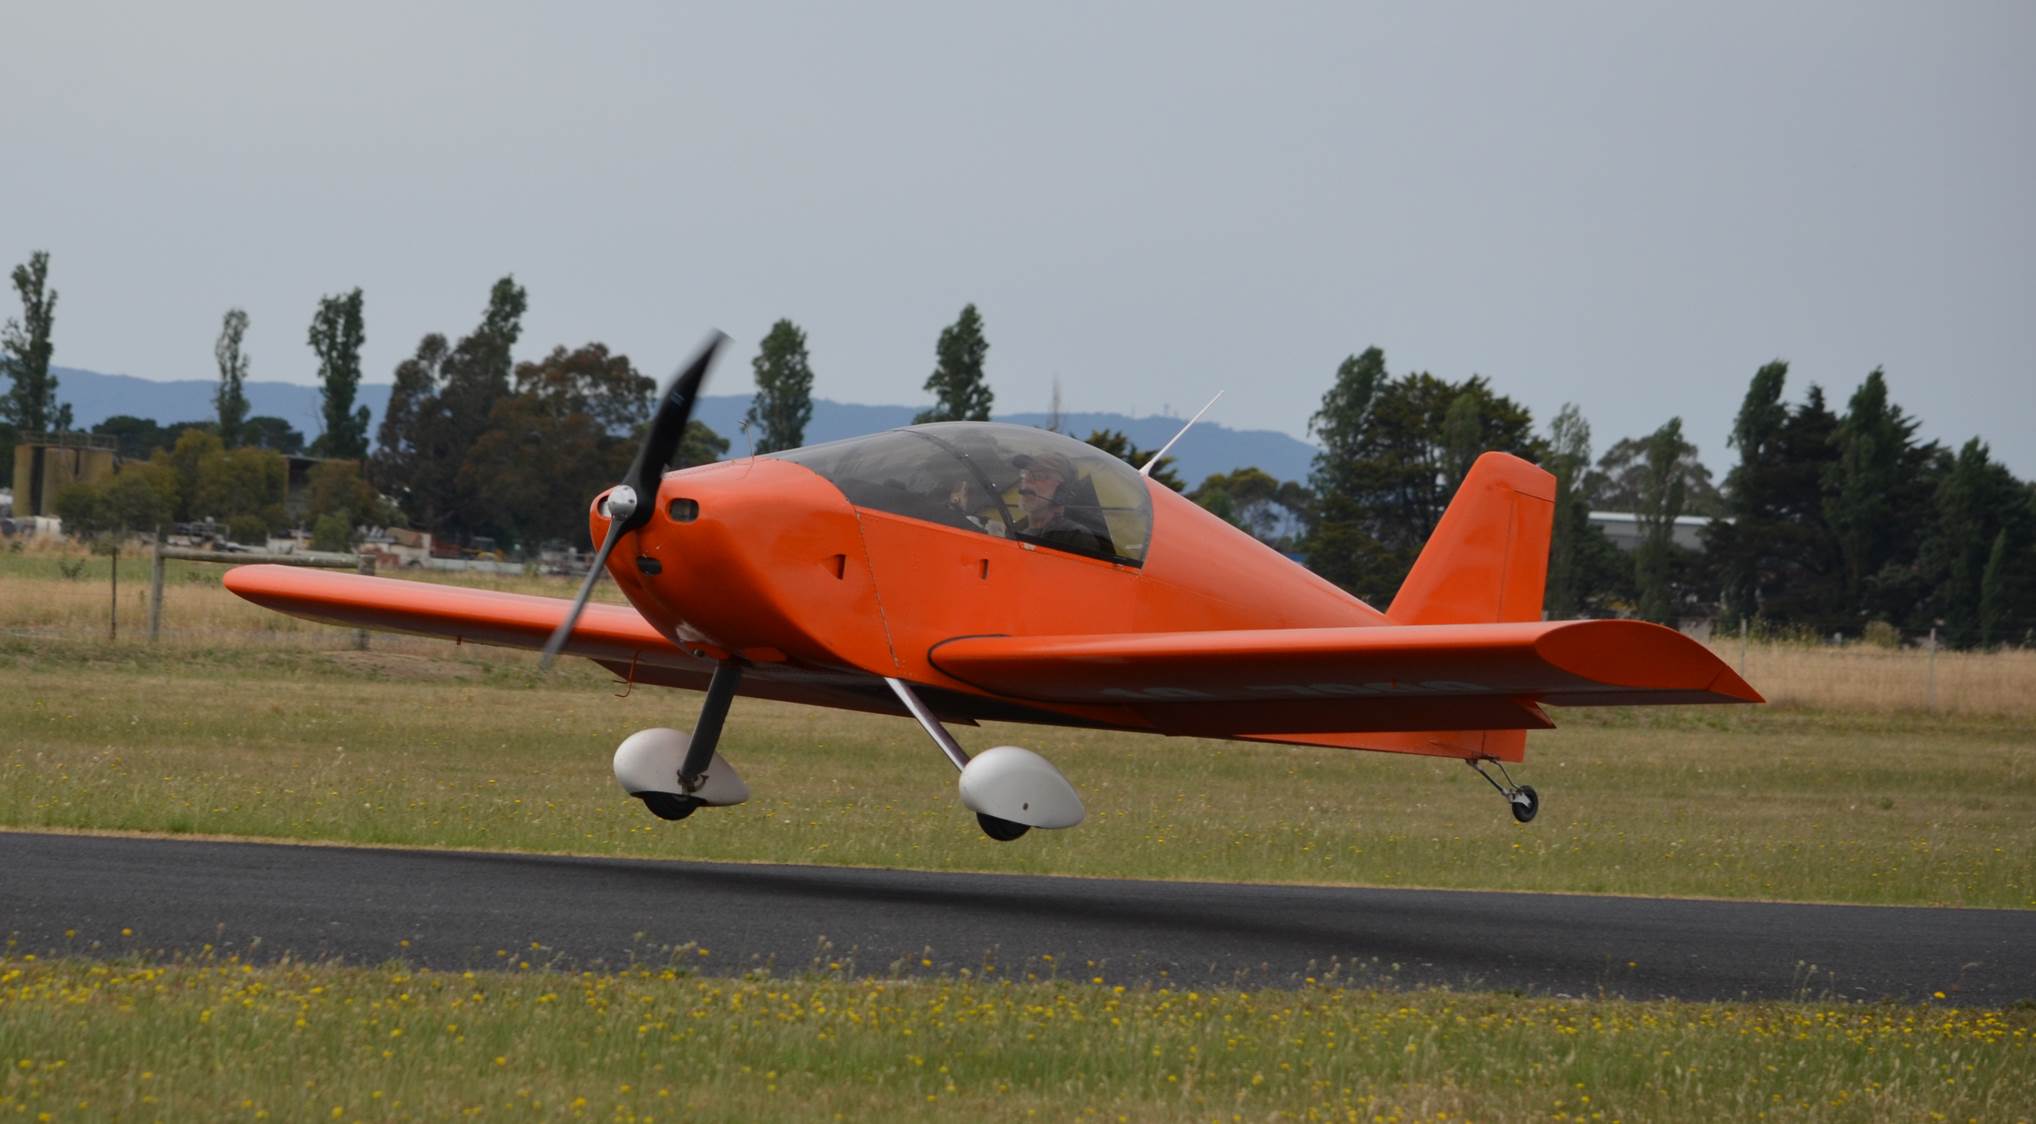
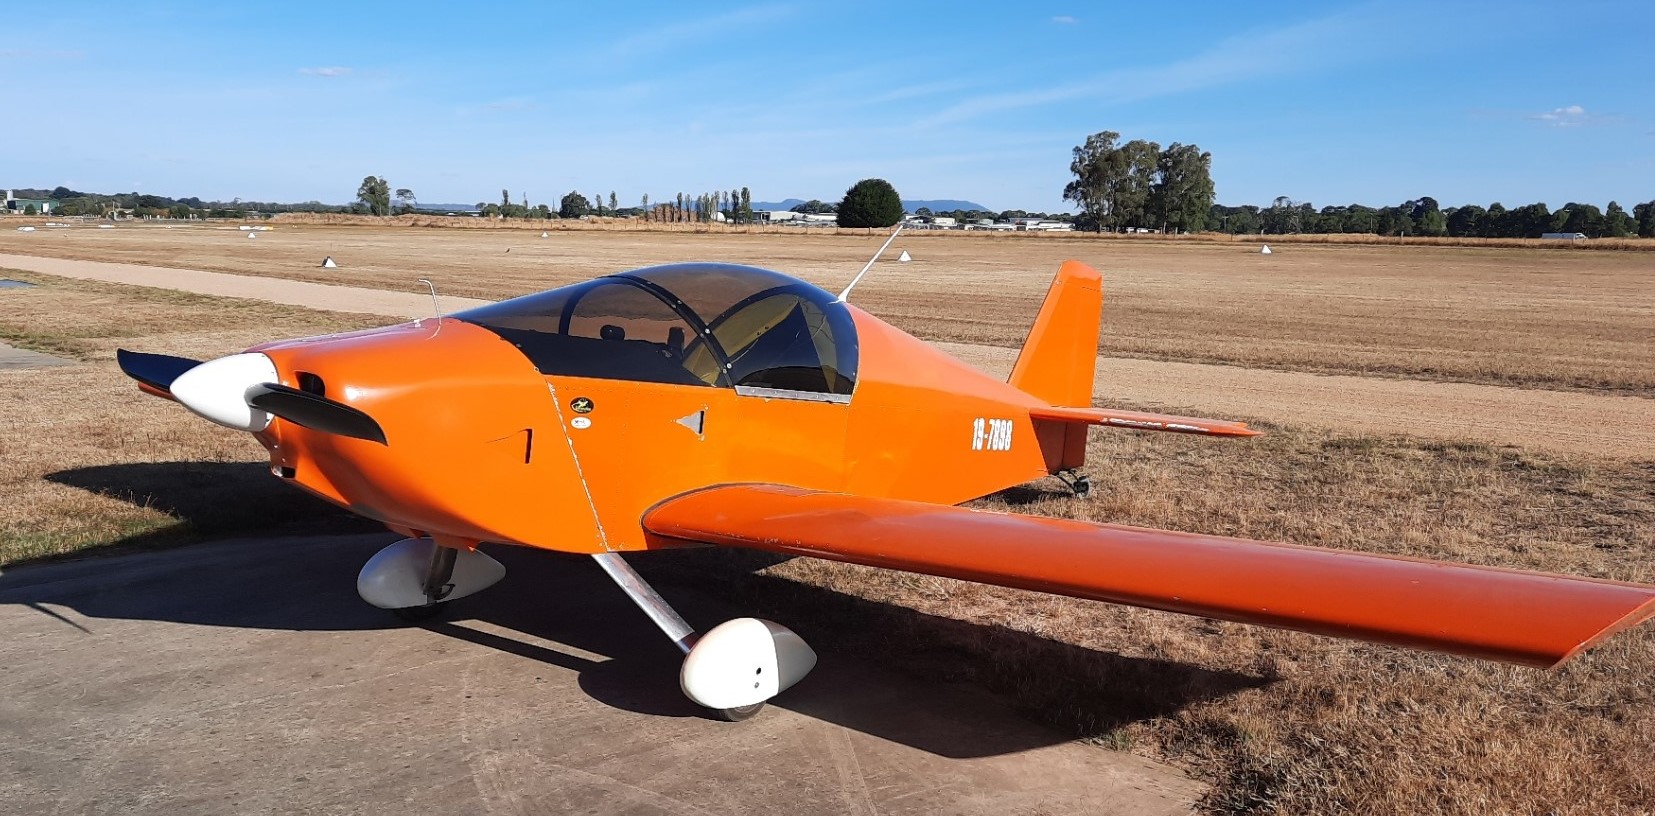
Ansoneng.com is essentially me, Peter Anson. I am a former engineer, motorcycle dealer, school teacher and engineer (again). As an engineer I have been mainly involved in structural testing of aircraft parts as well as complete aircraft, but I didn’t start flying until 2001. Since 2012 I have been flying my own home-built Sonex, which took me about 6 years to build from plans.

The Sonex is great fun to fly, especially when powered by a Jabiru 3300 engine. I highly recommend the Sonex. It is light, strong, not difficult to fly with a low stall speed and good control feel, and it is fairly straightforward to build. It isn’t in the class of a Vans RV7, but then neither is the price. During the course of the build, and since, I inevitably came across some minor aspects of the design that I wasn’t entirely happy with. In the “Products” section I’ll present some parts that I have found to work particularly well.
 PRODUCTS
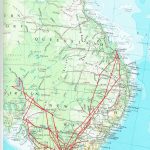 SONEX TRIPS
 MECHANICAL STUFF
If you want any information on any parts, you can contact me by email at: peter@ansoneng.com
Recently added pages
A new engine and a new cowl
Now available – updated 76mm wide NACA inlet
This is an updated version of the inlet duct with a 20% lower profile than the previous model. It also uses a much stronger screw design.
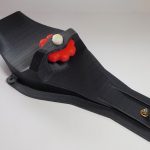
Canopy latch – rear fitting –
Suitable for Onex or Sonex A models – now available
B Model Canopy Latch – now available
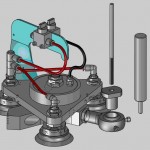
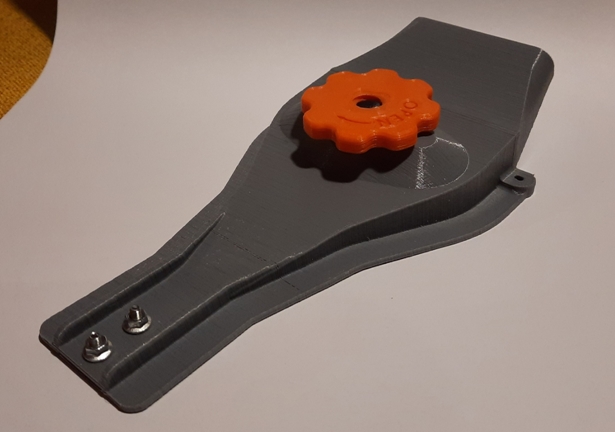
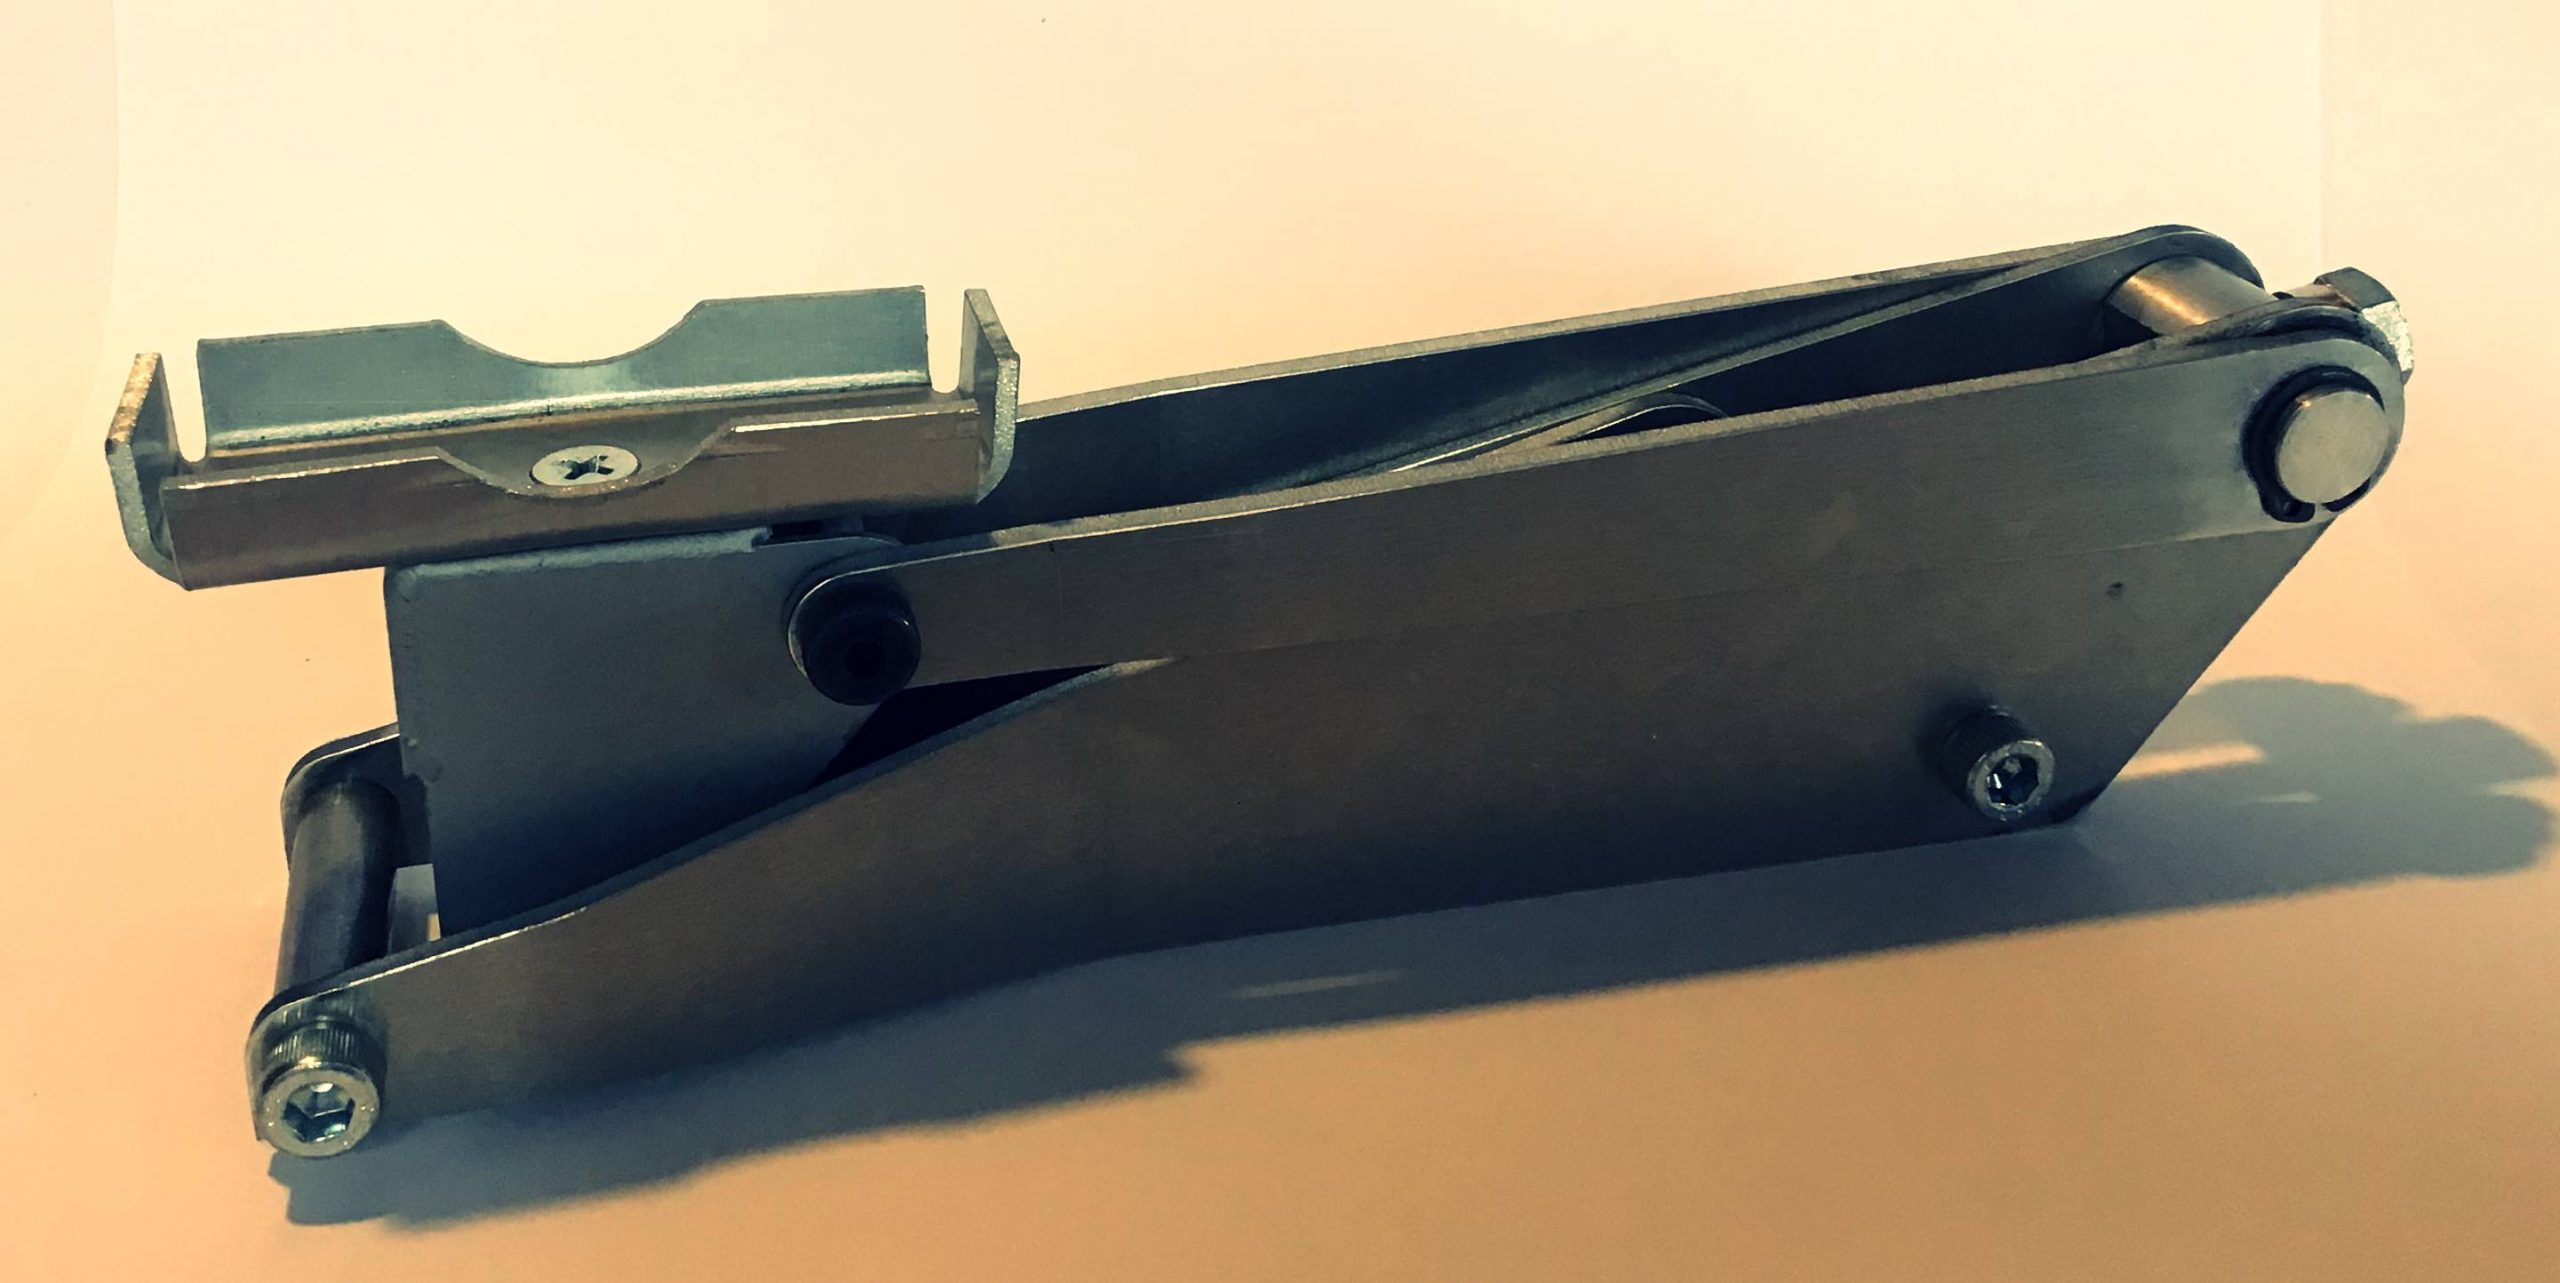
Lightweight Screw Jack – now available

This excellent addition to your tool kit is now available for just A$120. Mass is 385 grams, 12.4 ounces in old money, and you can operate it with a wrench or a cordless drill. Here’s a short video showing its operation. This unit has been tested lifting up to 400kg, but it’s intended for lifting 160kg, about the weight on one wheel of a Sonex.
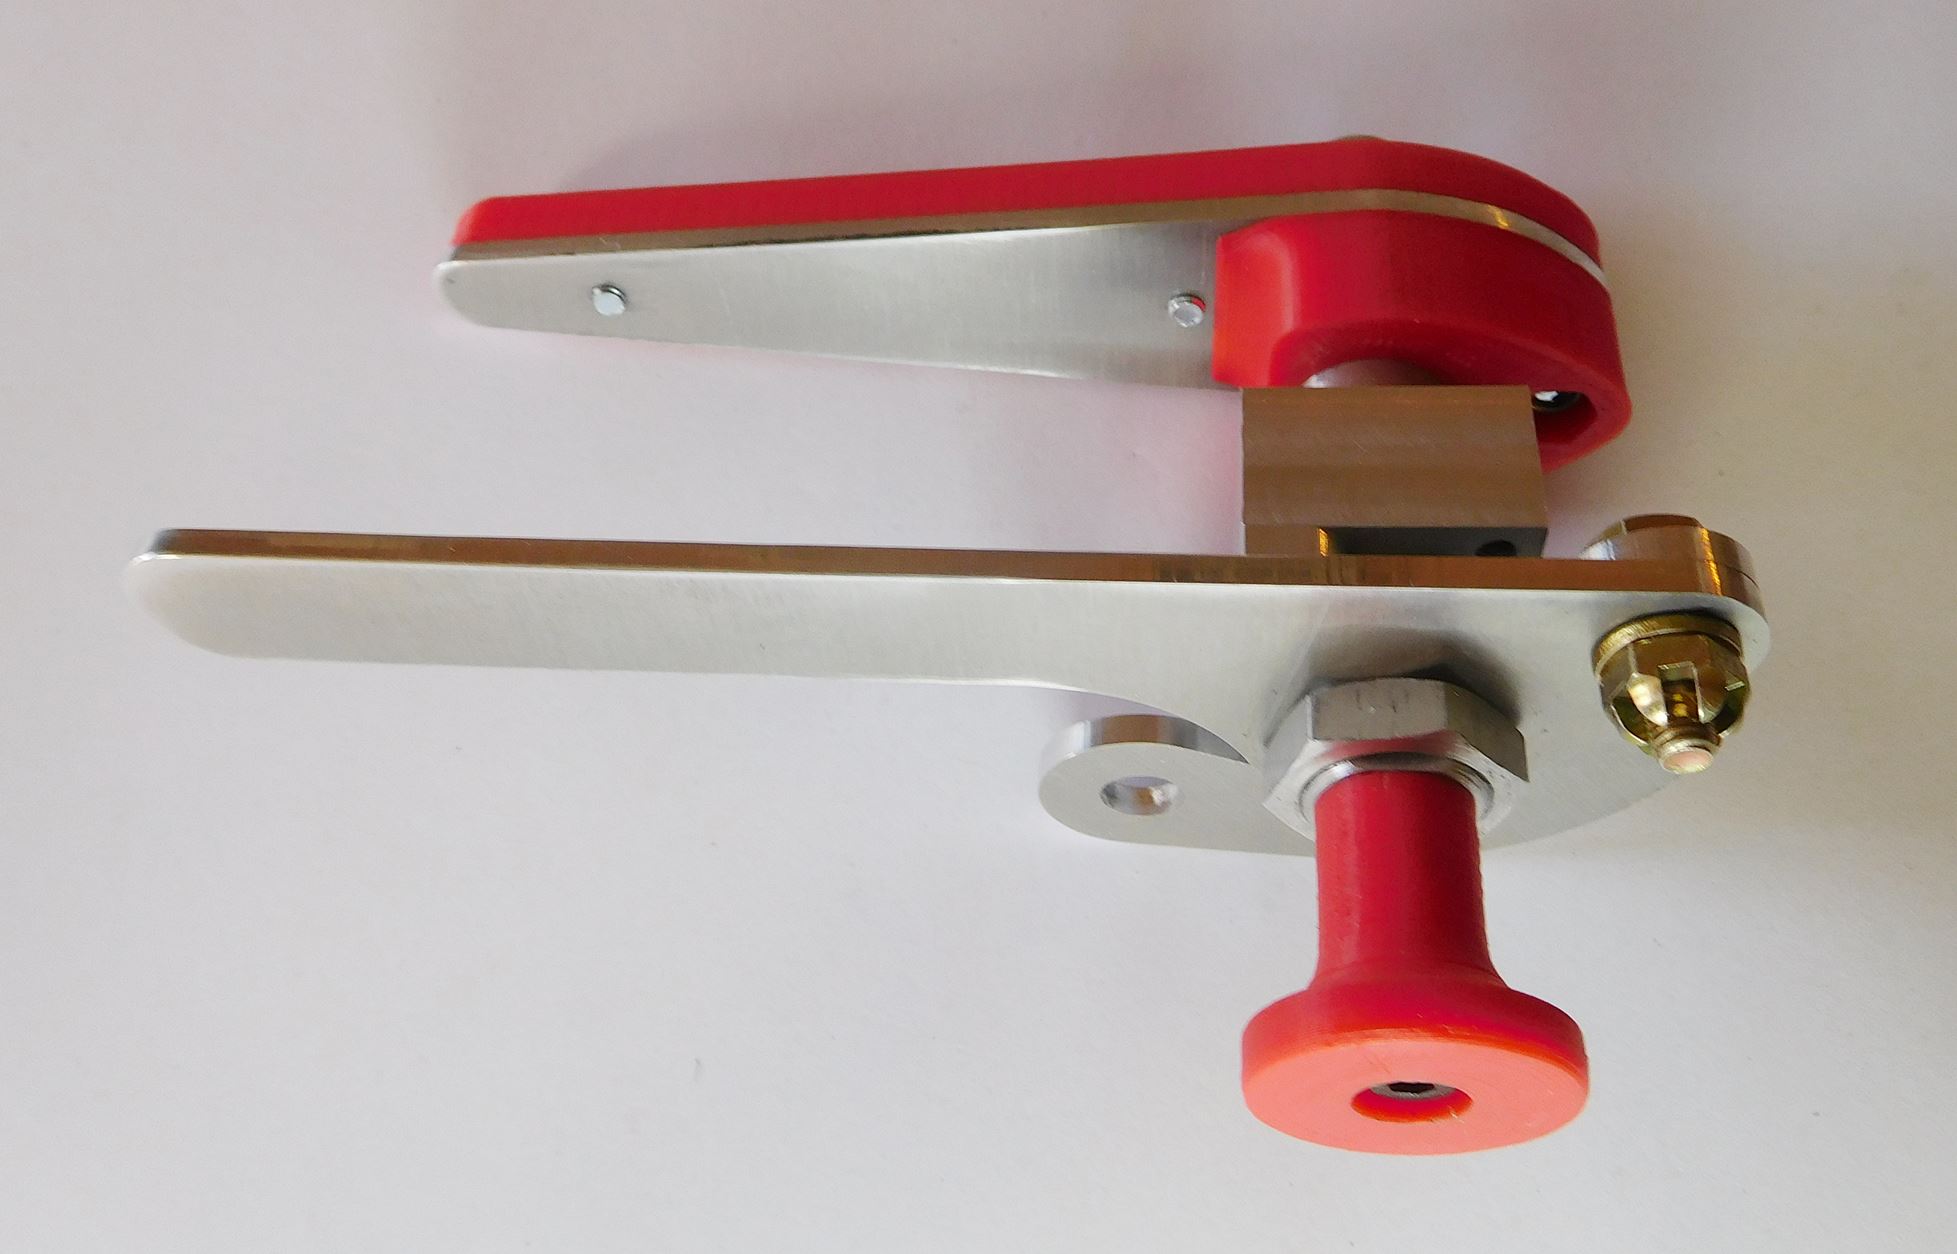
This is a little more universal with a rectangular lift platform. Mass is 412 grams. Other dimensions as above.
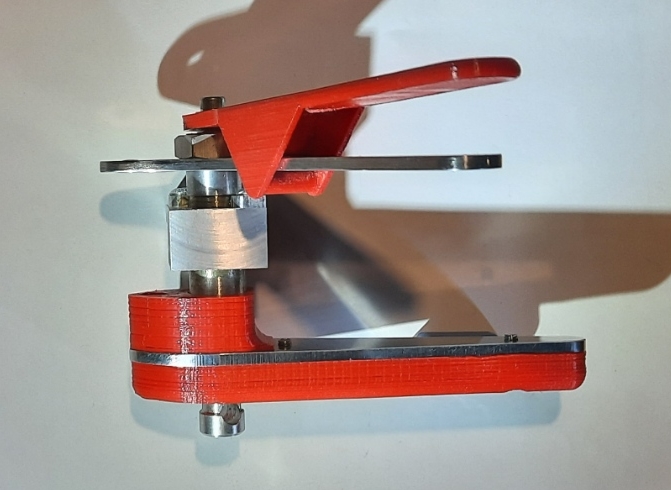
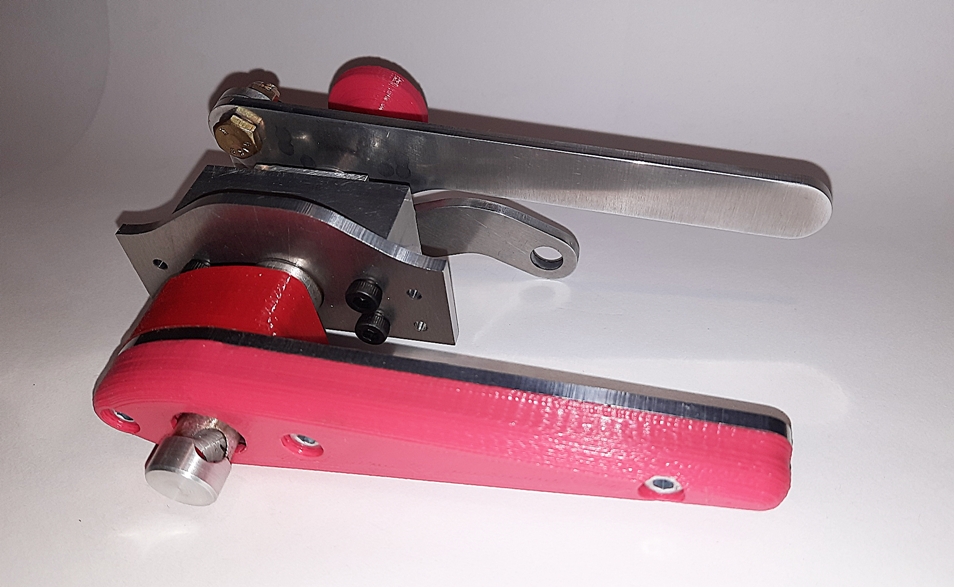
Canopy latch with automatic safety lock – now available
Safety lock sets automatically but can be released from either inside or outside the cabin. further details
Here’s a short video to show the operation https://youtu.be/LvCBIxyOqBM
Testing ventilation air flow
I finally decided to get a bit more scientific and actually measure the difference in air flow when making new designs. Big surprise, holding my hand in the draft wasn’t quite as precise as measuring air speed with an anemometer. Who’d have thought?
NACA adjustable ventilation duct 114mm wide
These are 50% bigger than my original NACA ducts. They feature a vacuum formed ABS body, 3D printed outlet, adjustable air flow and adjustable outlet direction.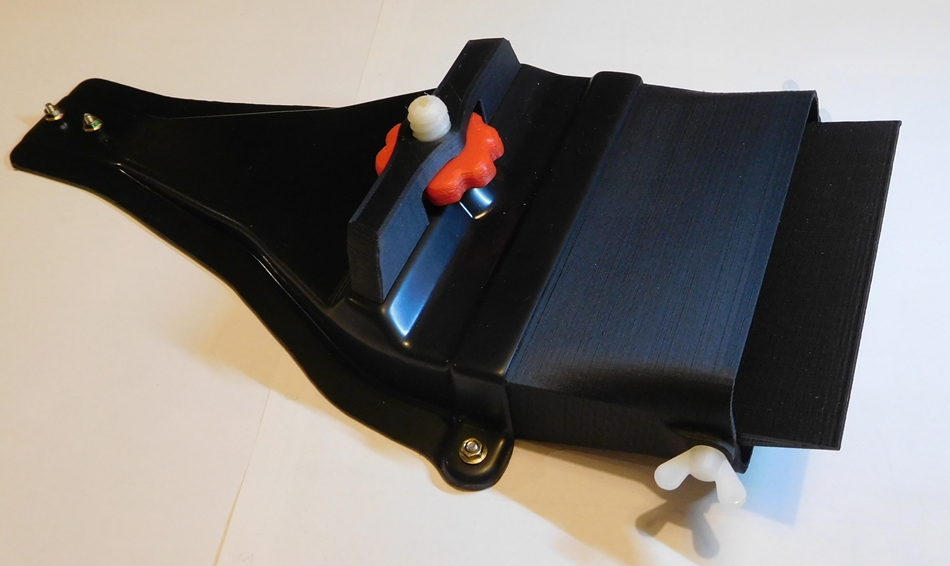
Who needs an airline when you have a Sonex?
Well, maybe I do but then I wouldn’t get a photo opportunity like this: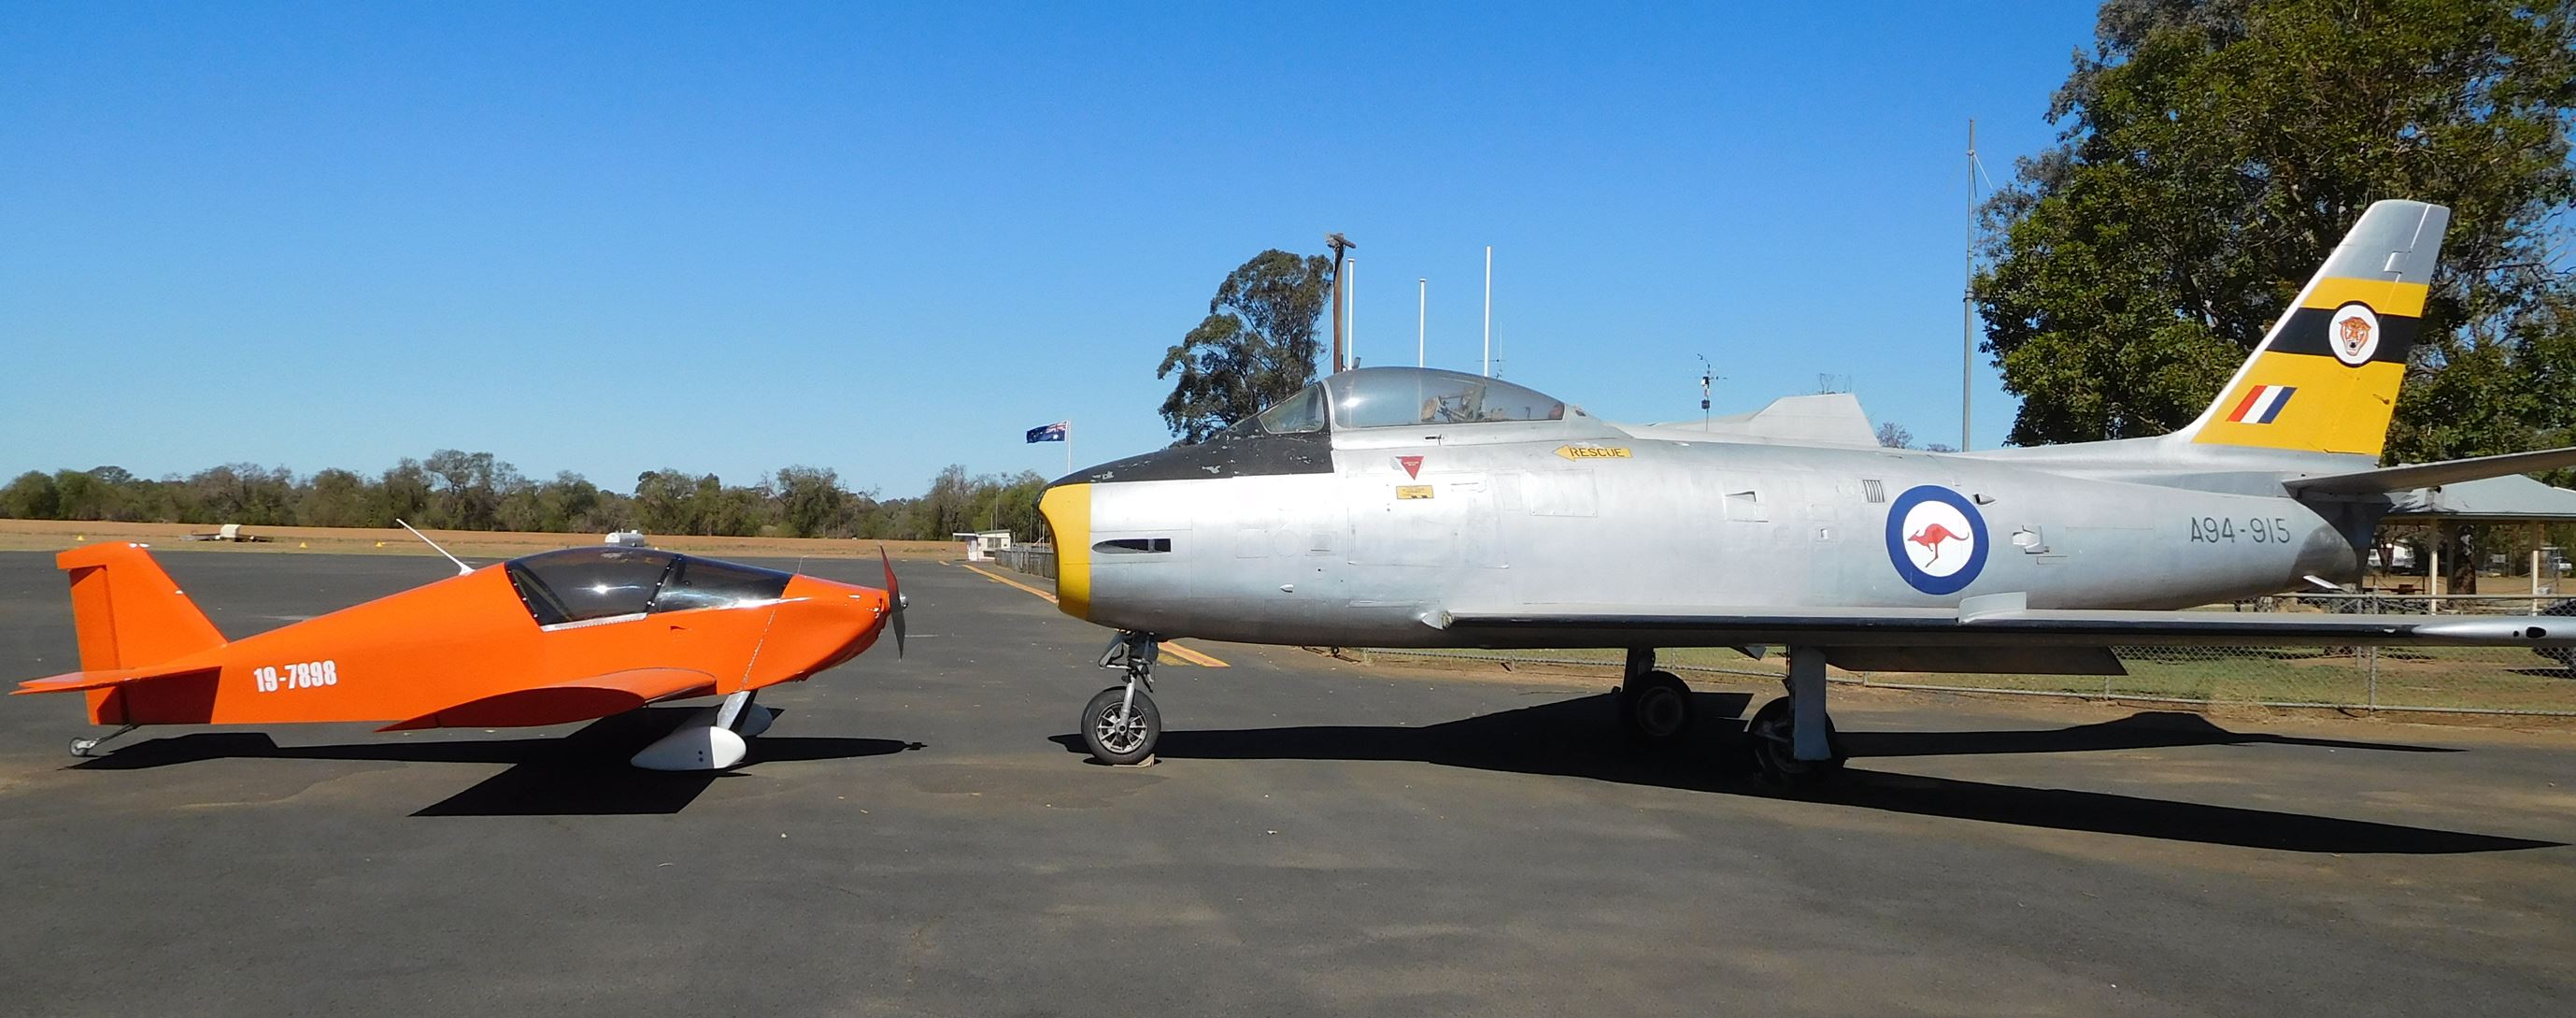
Recent changes to my own Sonex
When I built my Sonex, I made a few minor changes but one area where I followed the plans exactly was the shape and location of the cabin air inlets. As most Sonex builders know, they are inadequate for a warm climate, which led me to design the first of my air inlet ducts. They worked quite well so I also made an improved design that was a true NACA shape. Only problem is that I couldn’t retro-fit them to a Sonex like mine that had the original cut-outs so I have finally done something about it and made a duct that is 15% bigger than the original NACA duct. The cut-out envelope for this duct is large enough to completely enclose the original Sonex cut-out. Once again, my Sonex was the test bed, and here it is fitted with the new duct.
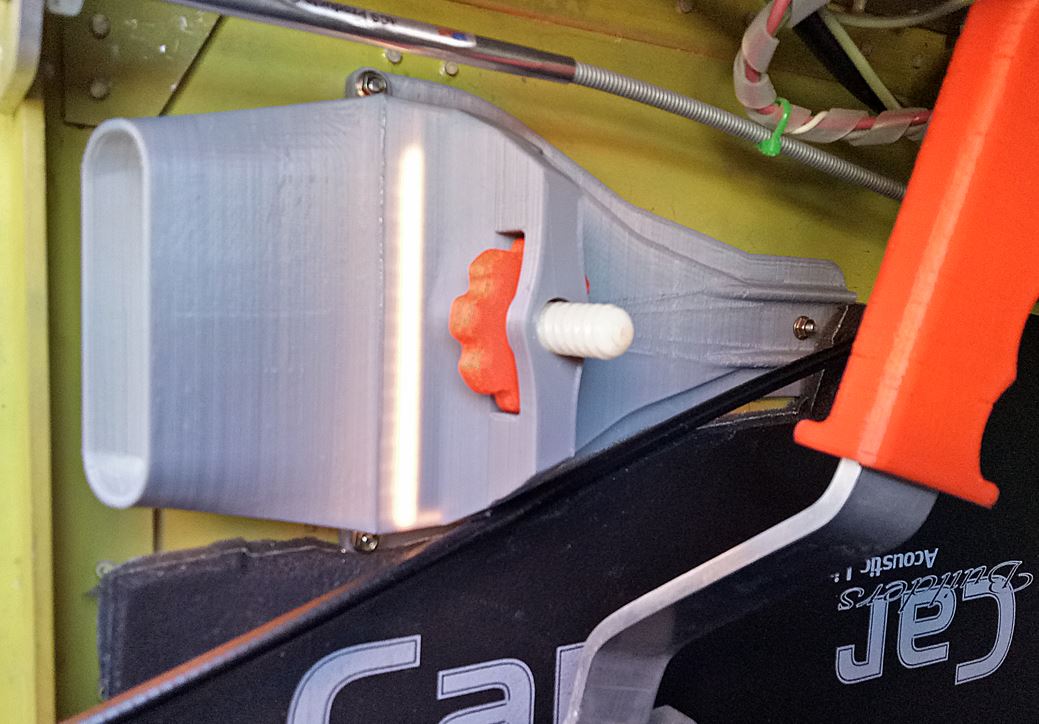
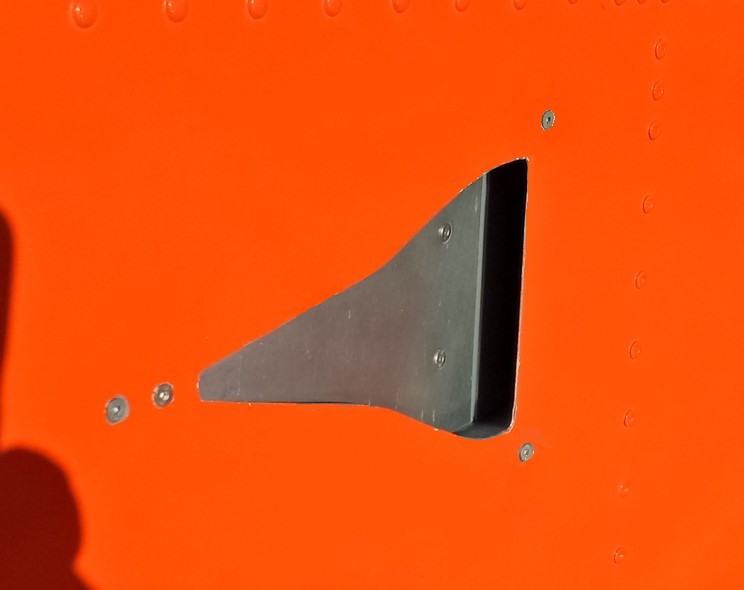
How well does it work? The answer is GREAT. It’s almost a howling gale with it fully open. My subjective assessment is that when it is only about 1/4 to 1/3 open it has about the same flow as my original fully opened Sonex duct (still fitted to the RHS) .
Braking news
I have the original Azusa drum brakes, complete with the pressed steel drum. They were never great although when they were new reached the dizzying height of adequate, but lately they have become very ineffective. An engine run-up at 1900 rpm was about their limit, and after the run-up the right hand brake was tending to stick on. I assumed well worn shoes but what I found was that they were badly glazed and one of the pads had half separated from the shoe. New shoes from Azusa plus freight and an unfavourable exchange rate meant that a new set would cost well over A$100 so I decided to see what was available locally. Sunbury Brakes was able to get the shoes relined for A$70. This sort of repair used to be common but there is apparently now only one business in Melbourne (I guess that makes it in the whole of Victoria) that can still rebond brake linings. I machined the new linings to match the drums and also took some care centering the drums on the wheels.
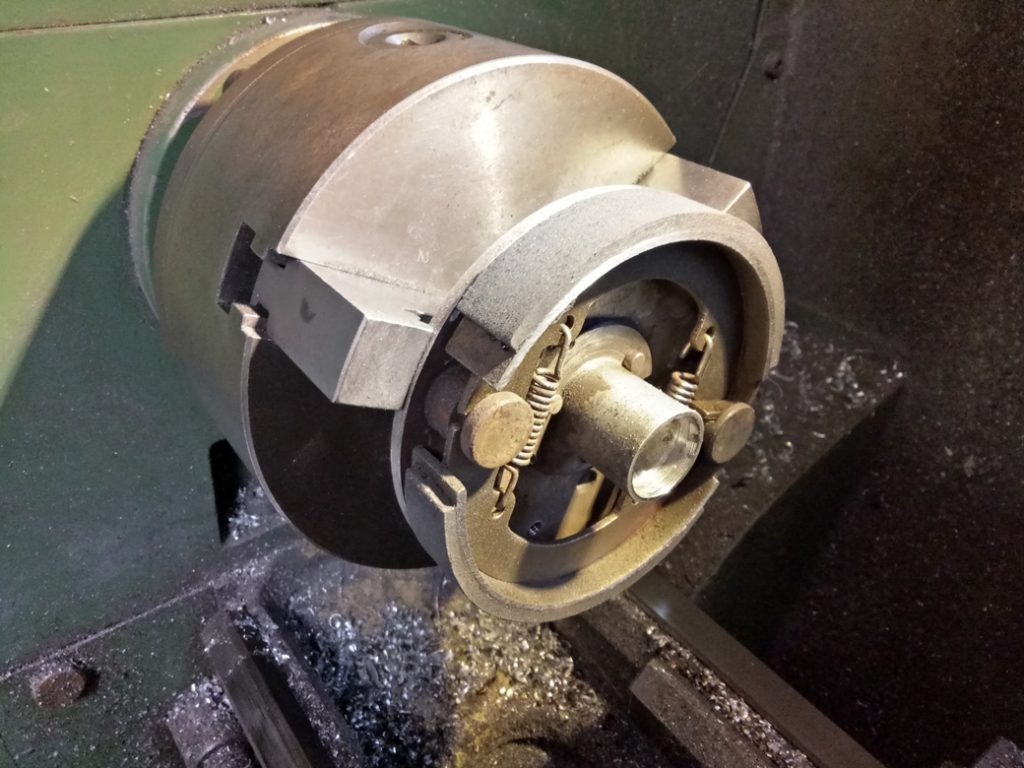
The end result was a dramatic improvement in the braking. I feel that they are much more effective than the original shoes when new. I guess time will tell if the improvement is permanent.